

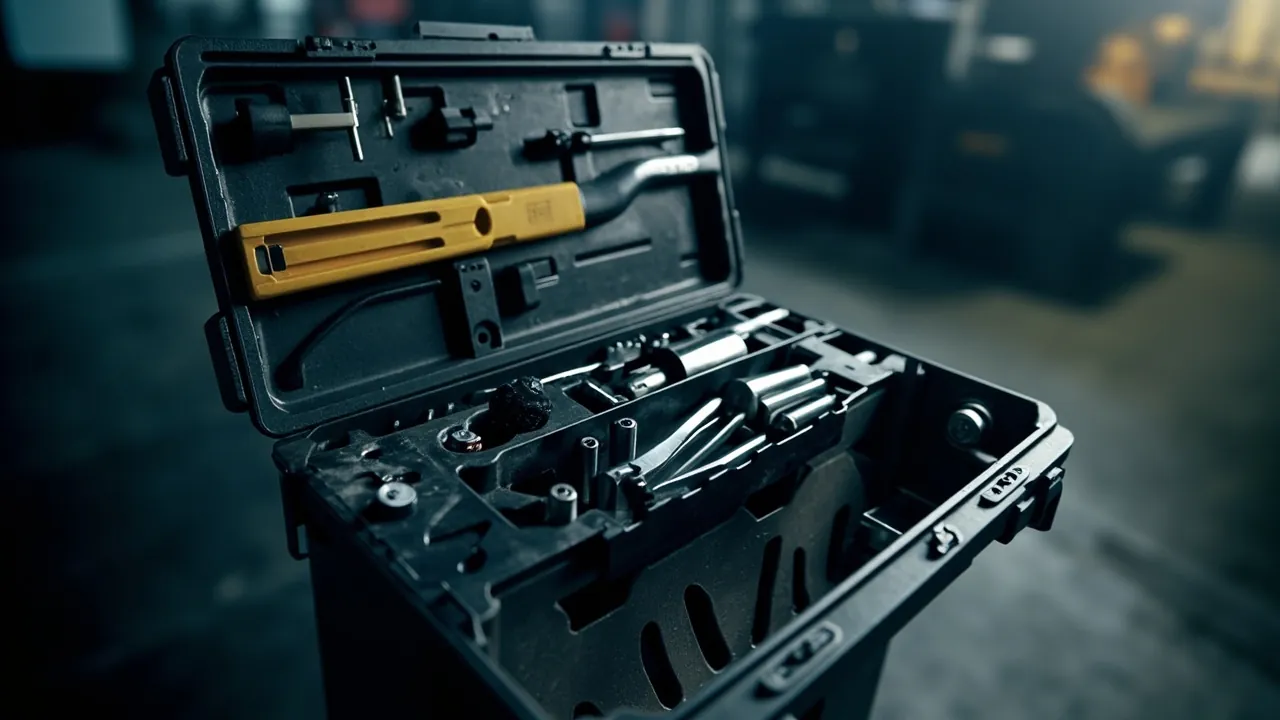
Bottom line: the number of tools a multi-function toolbox can hold is never the litre rating printed on the box. In engineering terms capacity has to be broken into three figures - nominal volume, usable volume and effective payload - and each one discounts the previous: usable volume is typically 0.80 to 0.92 of nominal volume, and effective payload is typically only 0.55 to 0.85 of usable volume, depending on the liner concept and how irregular the tools are. In other words, a case rated at 30 litres will realistically accept somewhere between 13 and 24 litres of tools that can actually be placed, retained and retrieved without a struggle - a spread of nearly two to one. Buying purely on the stated rating produces one of two familiar outcomes: the case is oversized, tools rattle around and the centre of gravity wanders during carrying; or it is undersized, the next batch of tools has nowhere to go, and a second purchase becomes unavoidable. A quieter problem sits underneath both: weight. Most toolboxes are nowhere near full by volume when they hit the ergonomic ceiling.
Teams that size cases by intuition - "about 20 litres for electricians", "25 litres should do for maintenance" - get away with it in small, stable groups. The moment several trades share equipment, work spans multiple sites, or a fleet order is placed, the error multiplies. Thirty technicians each issued the wrong size means thirty cases to reorder plus the indirect cost of crews standing idle. This article is written for engineers, maintenance planners, purchasers and OEM/ODM programme managers. It walks the full chain from job task to tool list to volume accounting to case selection to liner design, using formulas and typical values that can be re-run in a warehouse without specialist software. JUNZHJIA applies an expanded version of exactly this workflow when configuring bulk orders: freeze the tool list, work backwards to case size and liner, then run one physical load-up validation so that "will it fit" stops being an opinion and becomes an acceptance criterion.
Table of Contents
- Bottom Line: Capacity Is a Product of Three Figures
- Figure One: Where the Stated Litre Rating Comes From
- Figure Two: Usable Volume - the Space Structure Eats
- Figure Three: Effective Payload - Tools Are Not Water
- The Tool-List Method: Deriving the Set From the Job
- Volume Accounting: Converting Odd Shapes Into Comparable Numbers
- The Weight Constraint: Weight Usually Caps Out First
- Storage Efficiency: Fill Rate, Void Rate and Reachability
- Liner and Divider Options Compared
- Layered Loading: Frequency, Weight and Cleanliness
- Dimensional Checks: Longest Tool, Diagonal Clearance, Pocket Depth
- Scenario Quick-Reference Table
- Writing Capacity Into a Testable Specification
- Common Mistakes and Rework Cost
- FAQ
- Conclusions and Further Reading
Bottom Line: Capacity Is a Product of Three Figures
Splitting "how much will it hold" produces three figures that must be computed in sequence and never mixed up. The first is nominal volume - the litre figure on the datasheet, derived either from external or internal dimensions, with no universal convention across manufacturers. The second is usable volume - what remains after hinge bosses, wheel housings, handle recesses, ribs, latch bodies and lid organiser structures are subtracted. The third is effective payload - the volume that can actually be filled once you allow for irregular tool shapes, finger clearance for retrieval, and the space consumed by dividers themselves.
The relationship collapses into one line:
Effective payload = nominal volume x structure reduction factor x fill rate
The structure reduction factor typically sits between 0.80 and 0.92; the fill rate between 0.55 and 0.85. Multiplying the two puts effective payload at roughly 0.44 to 0.78 of nominal volume - which is where the headline range above comes from. That band is far too wide to apply blindly, so the real work is measuring it for the specific case and liner combination in front of you.
The value of the chain is that it converts a vague complaint into three separately measurable, separately negotiable, separately contractable parameters. Asking a supplier for minimum internal clear dimensions, a statement of structural intrusion, and a recommended liner concept is far more productive than asking "how many litres is it". A useful grounding in case taxonomy and terminology is available in What Is a Toolbox.
Figure One: Where the Stated Litre Rating Comes From
Nominal volume looks simple but there is no mandatory industry method. Three conventions are in circulation.
External dimension method. Length times width times height measured over the outside. This yields the largest number because it counts wall thickness, handles and wheel housings as "volume". It is not defensible as capacity, yet it still appears in marketing material for portable toolboxes.
Internal dimension method. The product of internal clear dimensions. This is the defensible approach, provided the spec states whether lid-mounted storage is included and whether dimensions are taken at the narrowest point.
Fill method. Filling the cavity with calibrated granules or water and measuring the quantity. Closest to reality, but slow, and unusable once wheels or liners are fitted. It is normally reserved for type testing or dispute resolution.
For purchasers the practical move is to write into the specification that volume shall be calculated as the product of internal clear dimensions, and the supplier shall state minimum clear length, width and height together with a measurement-location drawing. That kills the inflation from the external method and gives liner design a fixed datum. One caution: on wheeled and trolley cases the wheel housings usually intrude into the floor of the cavity as two humps, and the clear dimension must then be taken across the effective area between them, not across the widest section of the shell.
| Method | Definition | Strength | Limitation | Best used for |
|---|---|---|---|---|
| --- | --- | --- | --- | --- |
| External dimension | L x W x H over outside | Easiest to measure | Inflated; includes walls and protrusions | Rough comparison of similar cases |
| Internal dimension | Product of minimum clear dimensions | Realistic and re-checkable | Needs defined datum and lid rule | Recommended for specifications |
| Fill method | Measured granule or liquid volume | Closest to true usable space | Slow; impossible with liners fitted | Type testing, dispute resolution |
| List back-calculation | Sum of tool equivalent volumes | Directly drives selection | Depends on list completeness | Fleet fitting and custom programmes |
Three of these describe how big the case is; the fourth describes how big it needs to be. Correct practice computes the fourth first and uses the second to verify - never the reverse. An introduction to that arithmetic is given in Toolbox Capacity Calculation; this article extends it with shape factors for irregular tools and quantified liner discounts.
Figure Two: Usable Volume - the Space Structure Eats

Even an accurate internal dimension is not usable volume. Inside the cavity sit a set of invisible occupants that are routinely ignored and collectively significant.
- Hinges and hinge bosses. On long-edge hinged cases the hinge seats usually form a raised band along the rear wall, often deep enough to stop flat tools lying flush against it.
- Wheel housings and axle tunnels. The most notorious space consumer. Two humps can remove a meaningful share of floor volume and split the floor into awkward regions.
- Handle recesses and handle bases. Side or top handle bases often intrude into the cavity, folding handles especially.
- Ribs and stacking features. Floor and wall ribs raise the practical standing plane; stacking bosses create bumps or depressions on the lid.
- Latch bodies. Large latches typically protrude noticeably into the front wall.
- Lid organisers. Genuinely usable, but only for flat, light items. Counting it as main-cavity capacity overstates the case's ability to carry heavy tools.
Engineers bundle all of this into a structure reduction factor. Typical ranges: small injection-moulded cases with a flat cavity and no wheels reach 0.90 to 0.92; wheeled, trolley-type cases with large latches sit around 0.80 to 0.86; welded metal cases, penalised by corner welds, rivets and folds, may drop to 0.78 to 0.85.
A useful field check: lay the case flat, use a rigid board to simulate the usable standing plane, measure the effective height from board to floor, then multiply by the effective length and width the board covers. That "effective floor" is smaller than the cavity floor, and using it as the calculation basis produces far less error than the raw internal product.
Figure Three: Effective Payload - Tools Are Not Water
Even a perfect usable volume cannot be filled like a liquid, for three reasons.
First, irregular shape. Spanners are bent, pliers have open jaws, screwdrivers have slender handles, rotary hammers have protruding chucks. None of these pack tightly. Second, retrieval clearance. Tools need a gap for fingers or a whole hand, otherwise every pick means moving everything around it. Third, divider volume. Foam pockets, divider panels and bin walls all consume space - a necessary price paid for "no rattle, no contact damage, missing item visible at a glance".
Hence the fill rate: the sum of solid tool volumes divided by usable volume. Loose stacking reaches 0.75 to 0.85, at the cost of poor access, mutual impact damage and noise in transit. Foam pockets typically land at 0.55 to 0.70 and buy every tool a fixed home plus instant visual inventory. Divider panels fall in between at roughly 0.65 to 0.78 and add reconfigurability.
There is a conclusion here that is easy to miss: maximising how much fits and managing what is inside are competing goals. The same case will swallow 40 loose tools but only 26 in cut foam. Which is correct depends on the job. Fixed equipment kits with a frozen list gain far more from foam than from extra count; general maintenance, where the list shifts with the task, is better served by modular dividers. That trade-off is explored further in Tool Organiser Box vs Toolbox.
The Tool-List Method: Deriving the Set From the Job
The correct starting point is not the case, it is the list. Four steps build it.
Step one, decompose the task. Break a representative job into operations and list the tools each requires. A distribution-panel service call decomposes into verification and safety isolation, door opening, terminal tightening, cable preparation, measurement and recording, then restore and clean down. Each operation carries a tool group rather than a remembered heap.
Step two, three-tier classification. Mark every item as essential (carried every time), frequent (most jobs) or occasional (rare). Size the case for essential plus frequent, and treat occasional items as expansion headroom - usually 15 to 25 percent of volume.
Step three, measure the items. Record the maximum envelope length, width and height of each tool in its least favourable attitude: pliers open, screwdrivers including handle, cable as coiled outer diameter and thickness.
Step four, freeze and version the list. The frozen, numbered list becomes the input to liner design and to any later additions. New tools go through change control and a fresh capacity run. In fleet programmes this step is the one most often skipped, and it is the single largest source of downstream rework.
Once the list exists as a table, each item is converted into an addable equivalent volume.
Volume Accounting: Converting Odd Shapes Into Comparable Numbers
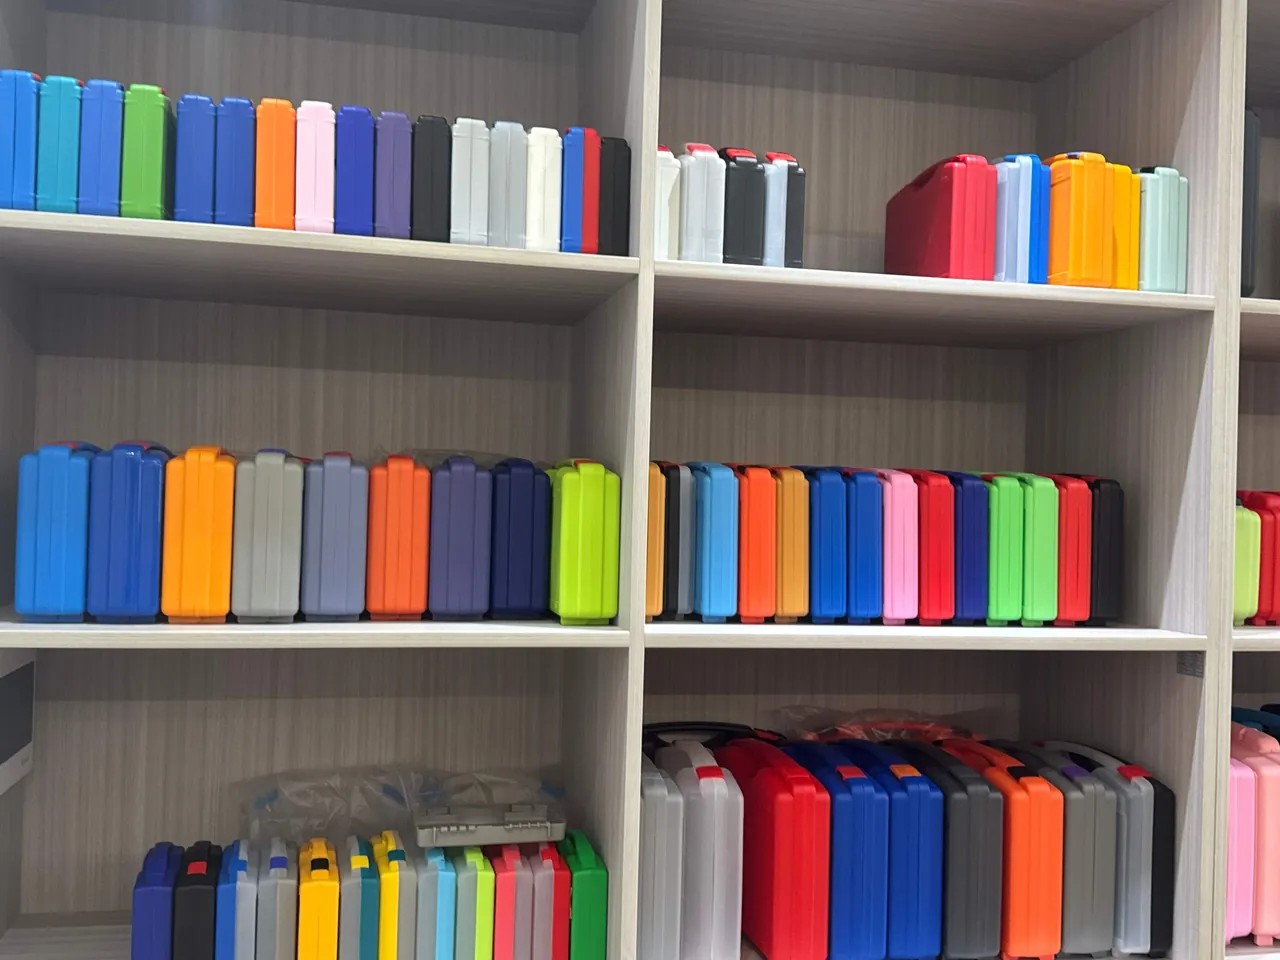
A single tool's true occupancy cannot be measured by displacement, but it is well approximated by an envelope box times a shape factor:
Equivalent volume = L x W x H (envelope) x shape factor
The shape factor expresses what fraction of that envelope box is genuinely occupied.
| Tool form | Examples | Shape factor (typical) | Note |
|---|---|---|---|
| --- | --- | --- | --- |
| Regular block | Battery packs, small instruments, parts boxes | 0.85 - 1.00 | Packs tightly |
| Flat plate | Spanners, steel rules, levels | 0.70 - 0.85 | Stackable, but access suffers |
| Handled bar | Screwdrivers, pliers, chisels | 0.55 - 0.75 | Big section mismatch |
| Cylinder | Drill bits, sockets, tapes, tapes rolls | 0.60 - 0.78 | Inherent voids in close packing |
| Irregular with protrusions | Rotary hammers, angle grinders, drills | 0.50 - 0.70 | Chucks, guards and cords leave voids |
| Flexible cable | Cable reels, test leads, ties | 0.45 - 0.65 | Coil centre is always empty |
| Loose consumables | Screws, terminals, washers | 0.90 - 1.00 | Container wall thickness extra |
Sum the equivalent volumes, divide by (1 - redundancy rate) to get required usable volume, then divide by the structure reduction factor to get required nominal volume:
Required nominal volume = sum of equivalent volumes / (1 - redundancy) / fill rate / structure factor
Worked example. A maintenance team's list totals 9.6 litres of equivalent volume. With 20 percent redundancy, a fill rate of 0.65 for cut foam, and a structure factor of 0.86 for a wheeled mid-size case, the required nominal volume is 9.6 / 0.8 / 0.65 / 0.86, roughly 21.5 litres - so a 22 litre case or slightly larger. Switching to divider panels at 0.72 fill drops the requirement to about 19.4 litres; loose stowage at 0.80 brings it to about 17.5 litres, accepting the access and impact penalties.
The point of the formula is that "what size should we buy" becomes arithmetic, and questions such as whether a liner change lets you drop a case size become quantitative rather than rhetorical.
The Weight Constraint: Weight Usually Caps Out First
As soon as the volume arithmetic is done, run a weight check, because in real tool sets weight reaches its limit long before volume does.
Common field thresholds for frequently handled loads - experience values, not regulatory limits:
- Frequent one-handed carry: 8 to 12 kg. Beyond this, wrist and forearm loading rises sharply and fatigue accumulates fast across a shift.
- Two-handed carry, short distance: 15 to 20 kg, the range most adults accept for a single lift.
- Wheeled cases: up to about 40 kg is normally manageable by one person; above that, braking, gradients, floor condition and push force all need assessment.
- Vehicle-mounted, fixed: the constraint becomes vehicle payload, anchorage strength and inertial loading under emergency braking.
Where occupational safety compliance is in scope, local manual-handling regulations and ergonomic assessment of handle grip diameter, centre of gravity and lift height take precedence. In fleet configuration work, JUNZHJIA normally adds a full-load weighing step after the volume calculation and compares the result against thresholds like these, precisely to avoid the "it fits but nobody can carry it" outcome.
Weight and volume link through load density - total loaded weight divided by effective payload. Hand-tool-dominated electrical kits run about 0.4 to 0.7 kg per litre; maintenance kits with power tools and batteries, 0.7 to 1.1; industrial cases full of steel parts and heavy accessories, 1.1 to 1.6. The number is diagnostic: a 25 litre case loaded to 22 kg is a high-density configuration, and the right next question is whether the handle roots and wheel mounts are strong enough - not whether a few more items will fit.
Storage Efficiency: Fill Rate, Void Rate and Reachability
Storage efficiency is not one number but a balance between three competing aims: carrying more (fill rate), finding faster (reachability) and not breaking anything (protection). No scheme maximises all three.
- High fill, low reachability: loose stowage. Suited to few tools, mixed categories and low sensitivity to impact.
- Medium fill, high reachability: cut foam or custom dividers. Every item has a home and a gap is instantly visible; the mainstream choice for equipment kits and precision tools.
- Low fill, maximum reachability: layered trays or drawers. Everything is visible at once, but volume utilisation is the worst of the three.
Define void rate as 1 minus fill rate. Lower is not automatically better: zero void means no room to grip anything, which is unworkable; excessive void means tools migrate in transit, contact each other, rattle, and can even force a latch open. As a rule of thumb, keep void rate between 0.25 and 0.40 for vehicle transport, with liner resilience absorbing movement; fixed storage can tighten to 0.15 to 0.25.
One reachability metric is routinely overlooked: retrieval depth, the number of items that must be moved to reach the bottom-most tool. Zero means direct access, one means a single layer to clear. Experience says the high-frequency items - those accounting for 80 percent or more of all picks - should all sit at depth zero or one. This is why layered trays survive in breakdown work despite their poor volumetric efficiency.
Liner and Divider Options Compared
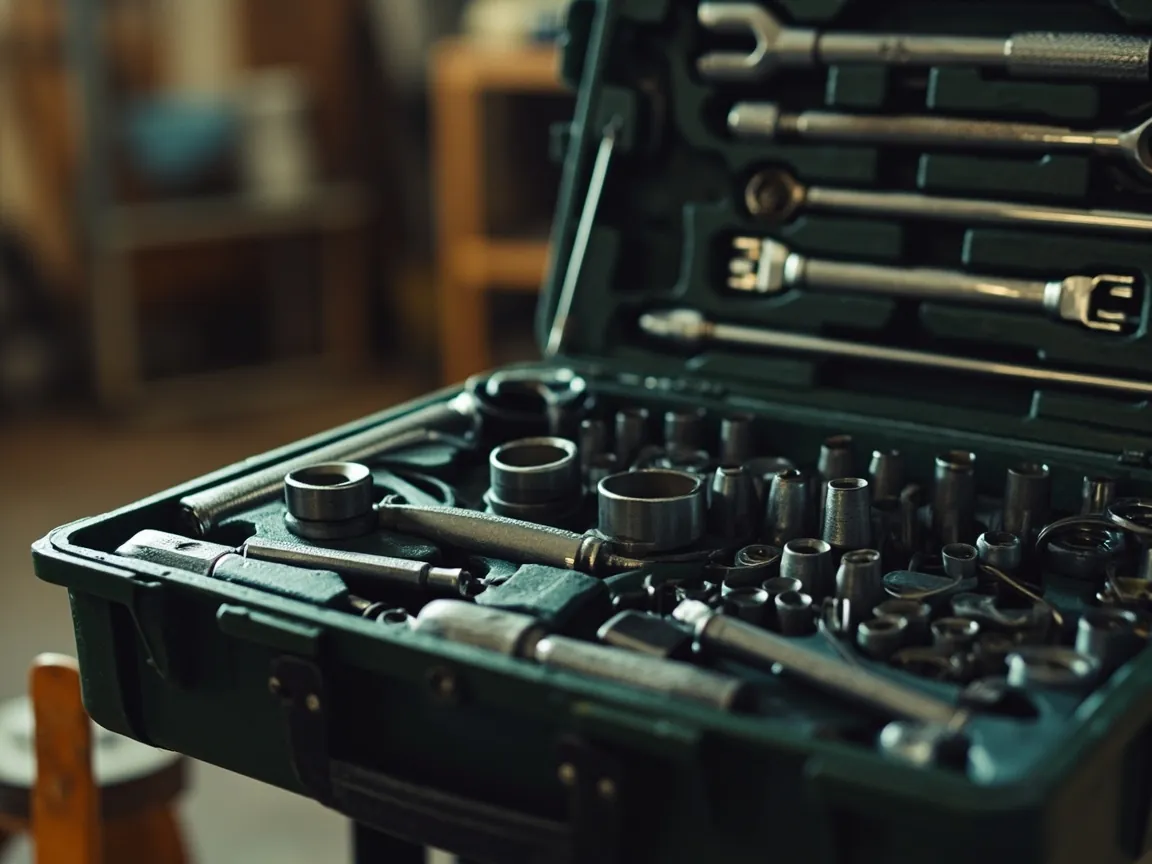
The liner concept sets both fill rate and reachability, making it the highest-leverage decision in capacity planning.
| Liner concept | Fill rate (typical) | Reachability | Reconfigurability | Protection | Suitable list state |
|---|---|---|---|---|---|
| --- | --- | --- | --- | --- | --- |
| No liner, loose | 0.75 - 0.85 | Low | Very high | Low | List changes constantly |
| EPE assembled foam | 0.60 - 0.72 | Medium | Medium | Medium | List broadly stable |
| EVA thermoformed pockets | 0.55 - 0.70 | High | Low (new tooling) | High | List frozen |
| Replaceable divider panels | 0.65 - 0.78 | High | High | Medium | Periodic list changes |
| Plastic bins and parts boxes | 0.60 - 0.72 | High | Medium | Medium | Consumables dominated |
| Layered trays or drawers | 0.45 - 0.60 | Very high | Medium | Medium | Breakdown work, high pick rate |
| Tool rolls and hanging pouches | 0.70 - 0.80 | Medium | Medium | Low | Flat hand tools |
Start with one question: will the tool list change in the next twelve months? If yes, favour dividers or modular bins. If no, thermoformed EVA gives the best overall result. Material-level differences are covered in EPE vs EVA Foam for Toolbox Liners and Advantages of EVA Foam in Toolboxes; layout method is covered in Toolbox Internal Compartment Design and Toolbox Internal Foam Selection.
One more benefit is frequently undervalued: liners can be tied into inventory control. A pocketed liner makes absence visible - an empty cavity means a missing tool at a glance. In sectors that require pre- and post-job counts, that is often worth more than the extra items a loose case would swallow.
Layered Loading: Frequency, Weight and Cleanliness
The last planning step is deciding where each tool goes. Three axes do the work.
Axis one, pick frequency. High-frequency items go where they are visible on opening with nothing to move. Note that frequency is measured in picks, not volume: a small screwdriver may occupy 0.05 litres but account for a third of the day's reaches.
Axis two, weight distribution. Heavy items belong low, near the centre of gravity and balanced left to right. Loading one side heavy makes the case tilt when carried and loads one handle root asymmetrically over time. A workable sequence is to position heavy items first, fill gaps with light ones, then use soft items - cable, gloves - as buffer.
Axis three, cleanliness. Oily, greasy or swarf-carrying tools must be physically separated from precision gauges, electronic instruments and clean consumables. Use separate cavities or sealed pouches rather than relying on a foam wall. This principle is developed further in Toolbox Modular Internal Design.
Combining the three produces a loading map: bottom and near side for heavy and low-frequency items, middle for high-frequency hand tools, top and lid for flat items, consumables and documents. That map is also the input to pocket layout, so it should be frozen alongside the tool list at design review.
Dimensional Checks: Longest Tool, Diagonal Clearance, Pocket Depth
However accurate the volume maths, one item that does not fit geometrically voids the whole scheme. Four checks are mandatory.
First, does the longest tool fit - and the relevant dimension is the internal diagonal, not the long edge. Long items can be laid diagonally, but diagonal placement wrecks fill rate and reachability and should not be a routine solution. Second, is clear height sufficient. Tools standing on their handles need height, not length, and wheel humps eat into effective height on wheeled cases. Third, pocket depth versus tool thickness: typically 0.5 to 0.8 of tool thickness, deep enough to retain, shallow enough to grip. Too deep makes retrieval hard; too shallow lets items jump out in transit. Fourth, lid cavity height: lid organisers take flat items only, and you must confirm the lid does not press on main-cavity tools when closed. Lid interference is the single most common assembly fault, and it only shows up in a physical trial.
Use the worst-case items method: take the three bulkiest and three longest tools from the list and verify them individually. If those six pass, the rest normally follow. This is exactly why JUNZHJIA asks custom-programme customers for either physical samples or precise three-dimensional dimensions of those six items - drawings usually omit guards, cords and protruding accessories.
Scenario Quick-Reference Table
The figures below are starting points for preliminary selection and still need re-running through the method above.
| Scenario | Typical item count | Equivalent volume (L) | Suggested nominal volume (L) | Suggested loaded weight (kg) | Recommended liner | Note |
|---|---|---|---|---|---|---|
| --- | --- | --- | --- | --- | --- | --- |
| Household maintenance | 15 - 30 | 3 - 6 | 8 - 12 | 4 - 8 | Parts boxes plus dividers | List changes often |
| Electrical and low-voltage | 30 - 60 | 6 - 12 | 16 - 24 | 8 - 14 | Dividers plus parts boxes | Many small consumables |
| Mechanical maintenance | 40 - 80 | 12 - 22 | 24 - 38 | 14 - 24 | Assembled EPE | Includes power tools |
| Precision instrument kit | 10 - 25 | 4 - 9 | 12 - 18 | 6 - 12 | Thermoformed EVA | List frozen |
| Outdoor and power-utility repair | 35 - 70 | 10 - 18 | 22 - 32 | 12 - 20 | Layered trays plus dividers | High pick rate |
| Vehicle emergency kit | 12 - 25 | 4 - 8 | 10 - 16 | 5 - 10 | Parts boxes | Limited by boot space |
| Production-line workstation | 50 - 100 | 18 - 32 | 38 - 60 | 20 - 40 | Modular, wheeled | Pushed rather than carried |
The suggested nominal volumes already assume 20 percent redundancy and a structure factor of 0.86. For an unusually flat cavity, such as a one-piece moulded case without wheels, you can step down one size; for a case with large wheels and a trolley handle, step up. More on selection by case type is available in Common Toolbox Types and Selection and How to Choose a Toolbox Size.
Writing Capacity Into a Testable Specification
To make a capacity clause enforceable, put the following into the specification or the technical annex of the purchase contract.
One, internal clear dimensions: minimum length, width and height in millimetres, a drawing showing where they are measured, and whether the lid cavity is included. Two, structural intrusion statement: the supplier declares the volume taken by wheel housings, hinge bosses and latch seats and commits to a usable-volume figure. Three, tool list as an annex: frozen, with model, quantity and envelope dimensions, serving as the input to acceptance. Four, load-up acceptance method: state that with the full list physically loaded the lid shall close and latch without force, latches shall not be under binding preload, and the liner shall show no permanent compression set. That single sentence is a more reliable acceptance test than any litre number. Five, loaded weight and handle requirements: a maximum loaded weight plus a requirement that the handle or wheel assembly show no permanent deformation under loaded static suspension - test methods can be adapted from the GB/T 4857 series on basic tests for transport packages and from ISTA transit test procedures. Six, redundancy: a stated proportion of reserved volume for future additions. Seven, change control: the re-calculation and liner remake process when the list changes.
With those clauses in place, "is it big enough" stops being an argument after delivery and becomes a check that can be performed on the spot. In OEM and ODM programmes, JUNZHJIA normally performs a physical load-up during sampling and keeps photographic records as the reference for series production.
Common Mistakes and Rework Cost
Six mistakes account for most fleet-fitting failures.
- Ordering on the nominal litre figure alone. Cases arrive too small or too large; rework cost is a full re-purchase.
- Ignoring wheel housings and hinge bosses. Tools do not fit or the lid interferes; rework cost is a liner remake.
- Cutting foam before the list is frozen. The liner is scrap; rework cost is tooling.
- Counting volume but not weight. It fits, nobody can carry it, crews reject it; rework cost is programme delay and lost labour.
- Liner mismatched to scenario. Deep pockets in a breakdown kit make every pick slow; loose stowage for precision gauges causes damage; rework cost is tool replacement and schedule slip.
- No redundancy. Six months later new tools have nowhere to go; rework cost is a second order and inconsistent specifications.
The cheapest insurance is a pilot batch: fit three to five cases, put them with the crews for two weeks, collect real feedback, then release the bulk order. Those two weeks routinely save multiples of their cost.
FAQ
Q: A case is rated at 30 litres. Roughly how many tools will it actually hold? A: Using the three-figure model, usable volume is about 24 to 27.6 litres and effective payload about 13 to 23 litres. Translating that into item count requires knowing the tool mix, which is why litres alone cannot answer the question. For hand-tool-dominated kits where each item occupies roughly 0.12 to 0.25 litres, expect on the order of 55 to 100 pieces. Add power tools and batteries at 0.5 to 1.5 litres each and the same case holds only about 15 to 35 pieces. The practical route is therefore to compute the total equivalent volume of your actual list first, then invert the formula to get the nominal volume you need, rather than starting from a case size and trying to fill it.
Q: Why do two cases with the same rated capacity hold such different amounts? A: Three mechanisms are at work. First, the calculation convention differs: one case measured over the outside and another over internal clear dimensions can differ by more than 15 percent in real cavity while both are labelled 30 litres. Second, structural intrusion differs: cases with wheel housings, trolley handles and large latch bodies have their cavity split by humps and mechanisms, leaving considerably less usable volume than a smooth one-piece moulded shell. Third, cavity shape matters: a wide, shallow case suits plate and bar tools, while a deep, narrow one suits blocks and power tools. Mismatch between tool geometry and cavity geometry costs real capacity even at identical volume. Liner choice adds a further 10 to 30 percent spread. Always request internal clear dimensions and cavity photographs instead of comparing litre ratings.
Q: Is a higher fill rate better, or a lower one? A: Neither in the abstract - it depends on transport conditions. Loose stowage reaches 0.80 and above, but items migrate, contact each other, generate noise in transit and are slow to locate, so it only suits short moves with low-value, impact-tolerant contents. Thermoformed foam pockets run 0.55 to 0.70 and trade volume for fixed positions, visible absence and no contact damage - right for frozen lists and precision tools. Divider panels sit between at roughly 0.65 to 0.78 and can be reconfigured as the list evolves. As a working rule, hold void rate between 0.25 and 0.40 for vehicle transport so foam resilience can absorb movement, and tighten to 0.15 to 0.25 for static storage.
Q: The calculation says the capacity is exactly enough. Should I still build in redundancy, and how much? A: Yes, and it belongs in the specification. Reserve 15 to 25 percent of volume as a starting point, adjusted for list stability: 10 to 15 percent for a frozen equipment kit, 20 to 30 percent for general maintenance where the list moves with the work order. The form of the redundancy matters too - express it as removable filler blocks or adjustable dividers rather than as bare empty space, because an empty void simply gives tools somewhere to migrate during transport. Also think about the shape of future additions: if a long bar tool is likely, reserve redundancy along the length axis rather than scattering it around the cavity.
Q: How can I judge a case's weight limit quickly? A: Look at three levels. The first is structure: are the handle roots ribbed or fitted with metal inserts, are the wheel mounts metal-inserted or integral, and do the latch seats have local reinforcement? These are the classic full-load failure points. The second is carrying mode: one-handed frequent carry around 8 to 12 kg, two-handed short moves 15 to 20 kg, wheeled up to about 40 kg before gradients, floor condition and braking need assessment. The third is verification: run a loaded static suspension check and look for permanent deformation or stress whitening where the handle meets the shell, adapting methods from the GB/T 4857 series and ISTA procedures. Where occupational safety applies, also check local manual-handling limits and ergonomic guidance.
Q: Thermoformed EVA pockets or adjustable divider panels - how should I choose? A: The decisive question is whether the tool list will change within twelve months. For a frozen list, such as an equipment kit or an instrument accessory set, choose thermoformed EVA: the fill rate is lower at 0.55 to 0.70, but every item has a fixed home, absence is visible at a glance, protection is the best available, and once tooling exists the design replicates cleanly across volume production - ideal for OEM programmes. For a list that changes periodically, such as multi-trade maintenance, choose replaceable divider panels: fill rate 0.65 to 0.78 and low reconfiguration cost. A hybrid also works well - dividers as the base system with a small EVA pocket module for the few precision items. Material differences are set out in EPE vs EVA Foam for Toolbox Liners.
Q: The lid will not close once the tools are in. What causes that and how do I fix it? A: Three causes dominate. The first is a height calculation error: wheel humps, ribs or lid organisers were not deducted, so the real height exceeds available clearance. The second is liner springback: fresh foam compresses and then partially recovers, and if pockets are too shallow or foam density too low the lid is pushed up. The third is uneven distribution: weight concentrated on one side makes that side contact first while the other lifts. Fix them in order - re-measure the worst-case item and compare with true clearance; move to higher-density foam or increase pocket depth, typically 0.5 to 0.8 of tool thickness; re-plan the loading map so heavy items sit low and near the centre of gravity. Prevention means a physical load-up trial during sampling, ideally laid out using the zoning method in Toolbox Internal Compartment Design.
Q: For a team covering several trades, is one common case size workable? A: Workable if you standardise in tiers rather than forcing a single model. Split the team into two or three bands - for example a daily-inspection band on 12 to 18 litre wheelless cases, a general-maintenance band on 24 to 32 litre wheeled cases, and a task-specific band with custom liners. Standardising brings shared spares, liners and labelling and keeps management simple; forcing one size means some people cannot fit their kit and others carry half-empty cases. The middle path is to standardise on a case family rather than a single model: identical external interfaces such as stacking features, latch pattern and label slots, with differences only in volume and liner. That preserves commonality while absorbing real variation. See Industrial vs Household Toolboxes for related discussion.
Q: After the capacity plan is finished, what validation is still required? A: Four checks. First, a physical load-up: install every item on the frozen list and confirm the lid closes and latches, each item can be removed individually, and nothing interferes. Second, full-load weighing: measure actual weight and compare it against the thresholds for the intended carrying mode. Third, a transport simulation: run the packed case over the real route, or perform a simplified vibration and drop sequence adapted from the GB/T 4857 series and ISTA procedures, then inspect for movement, items leaving their pockets and contact marks. Fourth, a crew trial: place three to five cases for two weeks and collect feedback on retrieval speed and any damage. Release the bulk order only after all four pass. In volume programmes JUNZHJIA treats the first two as a pre-shipment reference and retains the records for customer review.
Conclusions and Further Reading
Capacity planning is really about converting "how much does this hold" from a sales phrase into a chain that can be recalculated, negotiated and accepted. The method has only three steps: freeze the tool list, convert irregular tools into addable equivalent volumes using shape factors, then convert required volume into a nominal case size using structure reduction and fill rate. Within that chain, the failures rarely come from the arithmetic; they come from two steps that get skipped - freezing the list and running a physical load-up. The first determines whether a liner concept is viable at all, the second whether the concept survives contact with reality. Guard those two and most of the "does not fit", "too heavy to carry" and "cannot find it" complaints surface long before a bulk order is placed.
Three actions can start today. First, convert every nominal litre rating back into internal clear dimensions and write those into the specification. Second, set a fill-rate range for the actual duty rather than always maximising how much fits. Third, buy two weeks of real feedback with a three-to-five-case pilot. JUNZHJIA supports toolbox, protective case and military case programmes from case selection through liner design to volume supply, and can provide liner customisation and load-up validation against a frozen list. Engaging at the planning stage is the cheapest way to avoid rework later.
Further Reading