

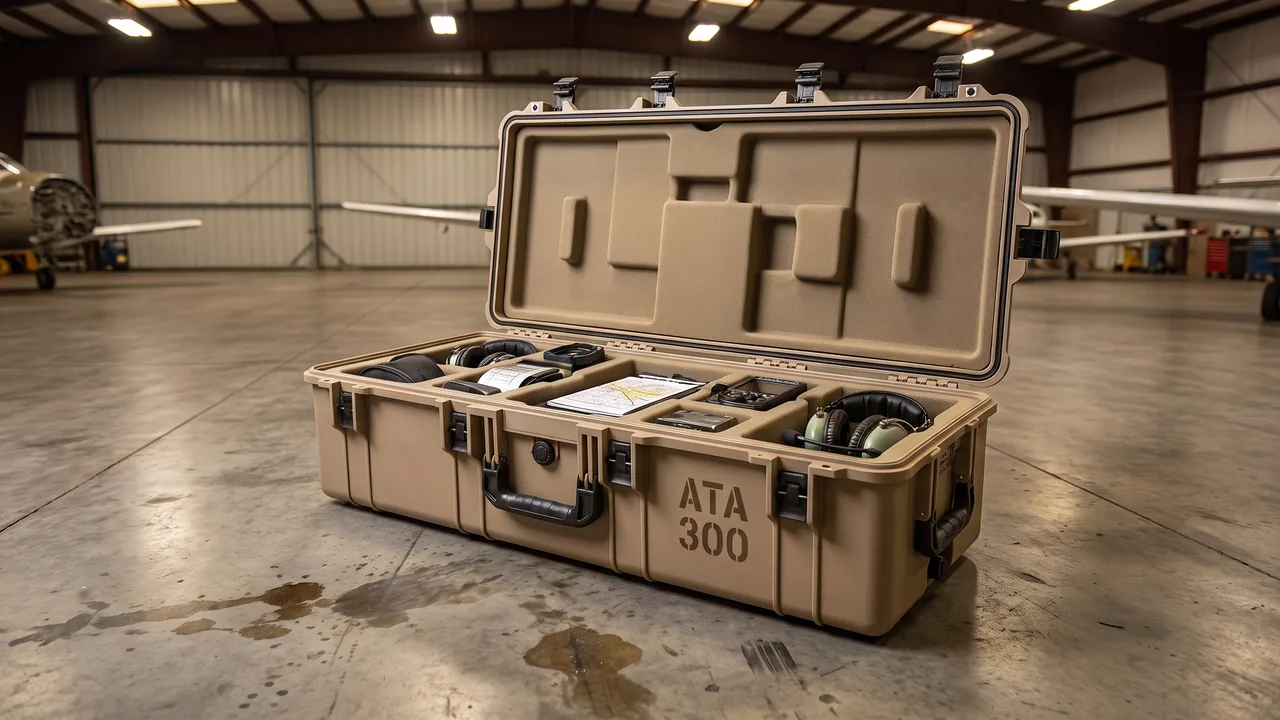
A photography equipment case is a protective container designed for camera bodies, lenses, flashes, monitors, gimbal cameras and imaging accessories. It serves military photography and public-affairs teams, reconnaissance imaging units, film and video crews, and photographers who work long assignments in the field. Imaging gear is fragile in specific ways: the concentricity of optical groups, the fit precision of the lens mount, the cleanliness of the image sensor, and the sensitivity of electronic modules to vibration and humidity. One drop can shift an internal lens group, one grain of sand can scratch a coating, and one condensation cycle can leave mold on a sensor surface that is hard to remove. The design goal of a photography equipment case is therefore not simply to fit the gear, but to combine shock isolation, dust protection, moisture control and fast retrieval. This article explains how such cases are specified across protection needs, shell materials, liner zoning, damping, sealing, latch load-bearing, stacking and certification, and links that thinking to How to Choose a Photography Equipment Protective Case: Shockproof and Moisture-Proof Storage for Cameras and Lenses, Optical Instrument Case: Zoned Protection and Shock Isolation for Precision Optics and Equipment Cases: General Instrument & Gear Transport Protection so a crew can build a complete storage-and-transport framework.
Application Scenarios and Protected Objects
The application range of a photography equipment case is widely scattered. In news and public affairs it carries DSLR or mirrorless bodies, zoom and prime lens sets, flashes, microphones, batteries and memory cards. In film and video production it carries cinema cameras, monitors, follow-focus units, matte boxes and wireless video transmitters. In drone and aerial work it carries gimbal cameras, spare propellers and ground-station equipment. In field survey and reconnaissance imaging it carries telephoto lenses, night-vision and infrared imaging accessories and tripod quick-release systems. What these items share is high optical precision, many accessories and high unit value, plus the need for fast lens changes and fast stowage on site.
Planning gear by use frequency and fragility is the key to support efficiency. A practical split is a body layer, a lens layer and an accessory layer. The body layer holds camera bodies and monitors, fixed by molded inserts with the keypad left accessible. The lens layer gives each lens its own hard insert, keyed by mount and focal length. The accessory layer holds batteries, memory cards, filters, cleaning tools and cables, stored by a numbered checklist. For crews that change locations often, the liner should reserve spare positions so expansion does not require new tooling. Once this structure exists, every departure and wrap can be counted against fixed positions, reducing omissions and preventing lenses from being knocked while searching. The value of a photography equipment case is that every imaging device is ready the moment the camera is switched on.
Protection Needs and Failure Risks
The failure risks of imaging gear come from several directions. Mechanical vibration and shock are the most common: gear riding over rough roads, being set down carelessly, or dropped while loading produces alternating stress inside a lens that shifts lens groups, deforms aperture blades and damages focus motors. Dust is the second risk: sand entering the mount, zoom ring and cooling vents causes abrasive wear and mechanical jamming, worst in desert and construction settings. Moisture and temperature swing are the third risk: gear moved from an air-conditioned room to humid outdoors, or stowed straight after shooting in rain or mist, condenses inside the case, and internal lens mold, once formed, is hard to remove and keeps attacking the coating.
Against these risks, the protection goals of a photography equipment case should focus on four points. First, shock and vibration cushioning: foam, elastic supports and isolation structures absorb transport and drop energy and reduce the peak acceleration reaching the gear. Second, dust sealing: a continuous gasket and sensible compression keep sand and rain outside. Third, moisture control: desiccant and humidity management suppress condensation and mold. Fourth, zoned restraint: every lens and accessory has its own place so they cannot rub or collide. These four threads tie back to the shell-material questions raised in Case Shell: Structural Materials and Molding Process of Protective Cases and to the insert-fabrication detail in Case Foam Lining: Cushioning and Customization of Case Interiors, which jointly underpin a photography equipment case.
Shell Materials and Structural Selection
For a photography equipment case, the shell is usually made from modified engineering plastics, polypropylene copolymer, magnesium-aluminum alloy or composites. Modified engineering plastics come from injection molding and are light and dimensionally accurate, letting ribs and latch seats be built into the wall, so most portable cases use them by default. Polypropylene copolymer resists chemicals and stays tough at low temperature, suiting outdoor and wet conditions. A magnesium-aluminum shell is rigid with a premium finish, fitting heavy lens cases that need crush resistance and long transport, though it requires anodizing and adds weight. Composites win on weight and specific strength. Differences in impact resistance, weather resistance and weight are discussed in What Common Plastic Materials Are Used in Protective Cases?.
Structurally, photography equipment cases tend to use a clamshell whose wide mouth lets a body and lenses go in and out together. The rims want ribs and rounded edges, while the corners are best fitted with Case Stacking Corner: Load-Bearing and Alignment Hardware for Stacked Cases so they aid both stacking alignment and resistance to drops. Crews that move location constantly benefit from wheels and a telescoping handle, but the wheel mount must be reinforced, or repeated loading on gravel and steps will crack it. Selection should also take the shooting temperature band into account, so low-temperature brittleness does not leave the case or its latches unusable in cold regions. If the case will go aboard an aircraft, check its external size against carry-on or checked-baggage limits beforehand to avoid repacking at the gate.
Liner Zoning and Content Retention
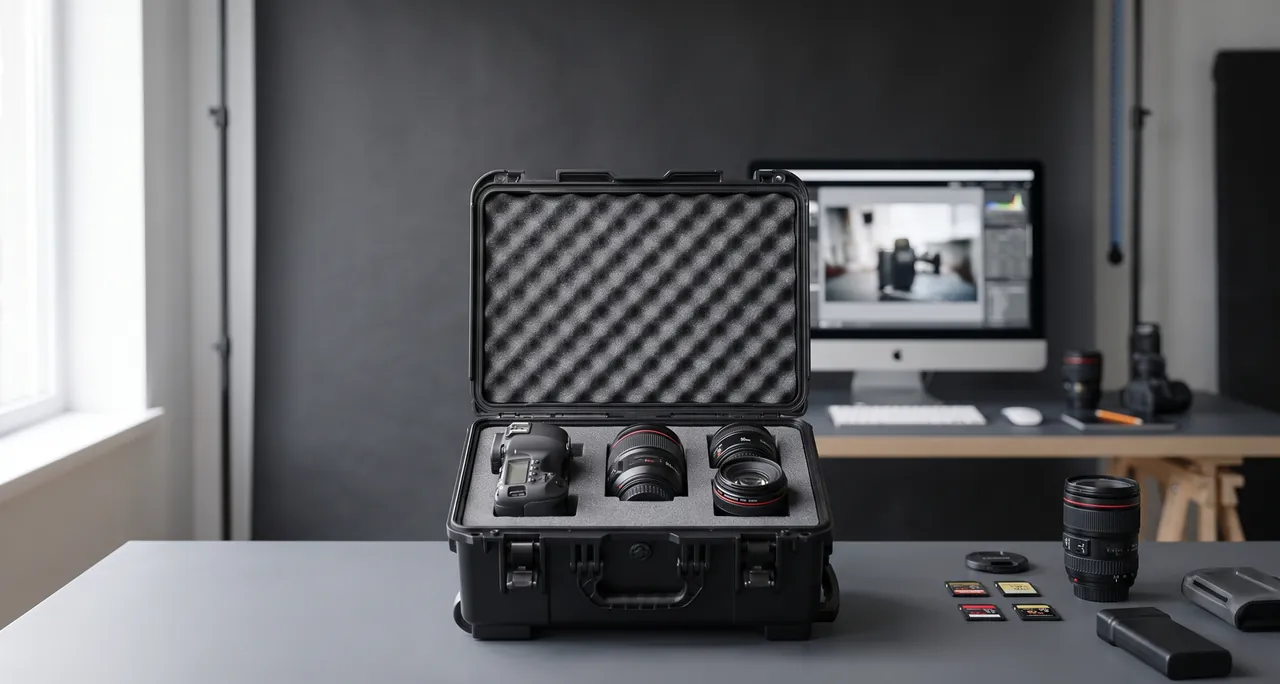
The liner is where zoned protection in a photography equipment case really happens. The materials in common use are EVA foam, cross-linked polyethylene foam, polyurethane foam and adjustable dividers. EVA balances hardness and toughness and molds readily, so it is a natural fit for hard inserts shaped to bodies and lenses. Cross-linked polyethylene offers a high closed-cell ratio and low water absorption for damp, dusty settings. Polyurethane is soft and is used to wrap lens barrels and monitor screens. How these foams compare is set out in What Foam Should a Protective Case Insert Use? EVA vs EPE vs XPE vs PU Compared.
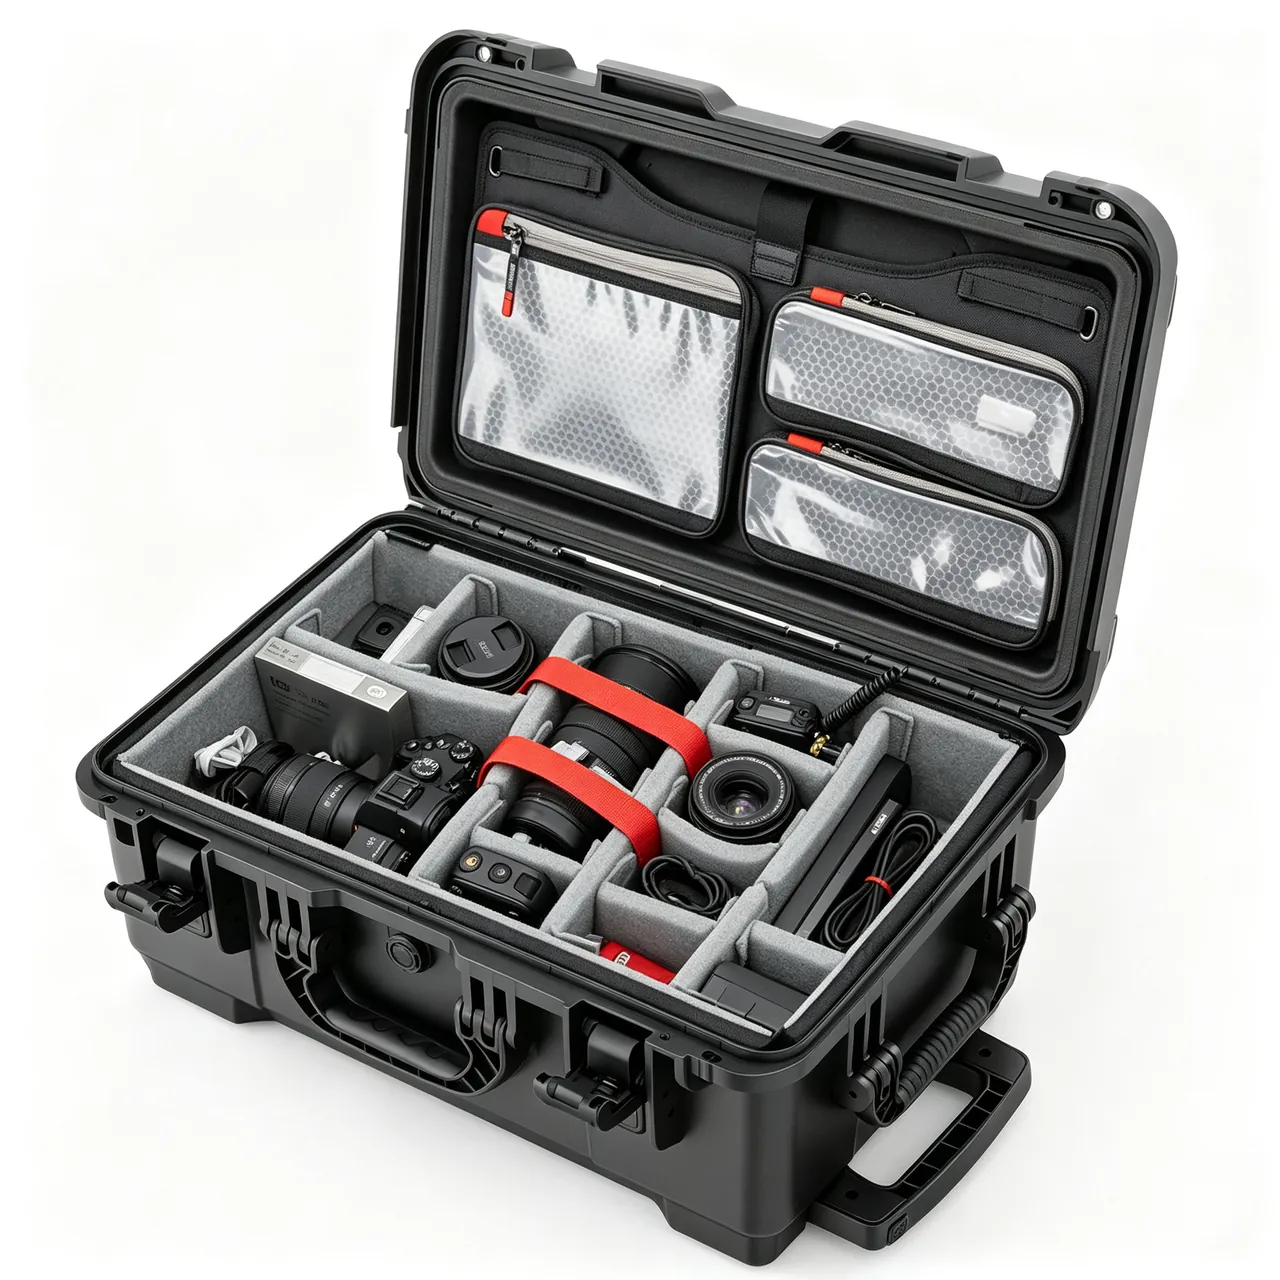
Fixation should follow the principles of body centered, lenses adjacent, accessories layered and fragile items centered. The body takes the largest cavity at the center so the center of gravity stays central. Lenses are arranged by mount and focal length, each in its own numbered cavity. Batteries, cards and filters are layered by size. Tripod plates, gimbals and cables go into corners or the lid mesh pocket. For long barrel lenses, use a half-round groove plus strap double constraint: cut a half-round groove to support the barrel, then press a stretch webbing over both ends to limit vertical bounce and axial slide. For flat small parts such as lens caps and filters, provide independent shallow pockets or a clear compartment box to prevent rubbing and loss. Cutouts should leave a slight compression allowance matched to the contour so the gear is firmly held without deformation from an over-tight fit.
Shock Isolation for Lenses and Bodies
The ability to isolate shock is what distinguishes a photography equipment case from an ordinary storage box. The approach is to replace the rigid link between gear and shell with one that is elastic and damped, so impact energy from outside is taken up progressively—through foam compression, elastomer deformation and damping loss—and the peak acceleration that reaches the gear comes down. The lens groups and focus mechanism inside a lens are highly sensitive to shock, and even a tiny displacement at the mount can spoil image quality. Damping design must therefore meet two goals at once: isolate high-frequency vibration and restrain large low-frequency displacement, soaking up the continuous vibration of a rough road while keeping the gear from shifting and colliding inside the case.
In real use, a layered damping scheme beats a single layer. The familiar arrangement is a shell damping layer plus a liner cushion layer: a thin damping film bonded inside the shell takes care of high-frequency chatter while the liner foam handles the main cushioning. For especially valuable cinema lenses and bodies, a silicone pad or an elastic support placed between the gear and its insert gives a third stage of protection. Damping must not be too soft, because overly soft foam creeps under sustained vibration and lets a lens sink out of constraint. For telephoto lenses whose center of gravity sits forward, the insert should carry the barrel's middle rather than the mount end, so weight is not piled onto the mount. At acceptance, high-value gear should be given a free-drop and simulated transport vibration check.
Dust Protection and Sealing
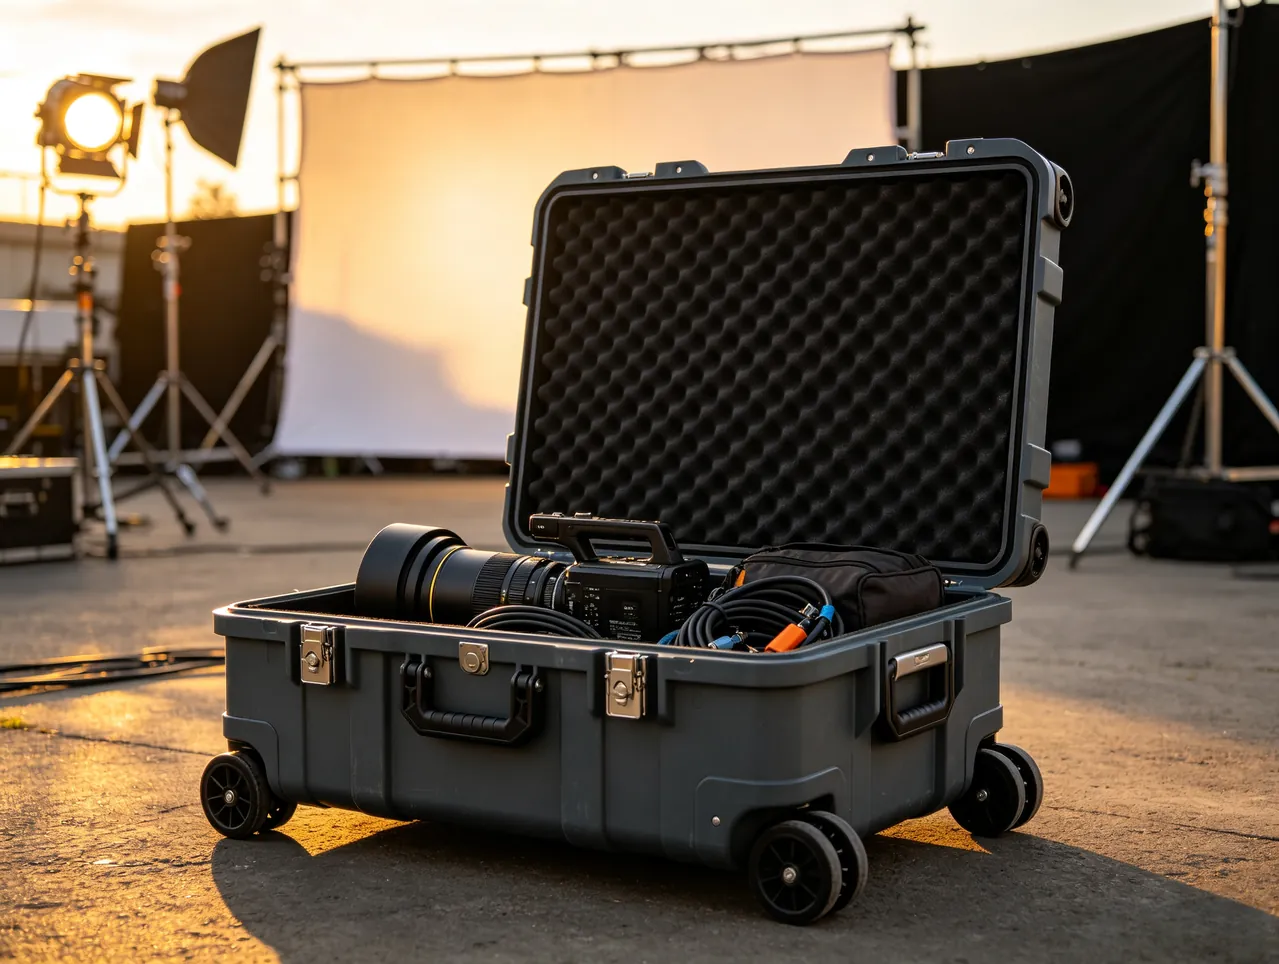
Sand and moisture are the most stubborn enemies of imaging gear, which makes sealing a defining metric for a photography equipment case. The seam between lid and body is closed off by a Case Seal Strip: The Key Waterproof and Dustproof Accessory for Protective Cases. A good gasket is normally EPDM or silicone, resists ozone, UV and aging, and stays elastic when cold. Profiles come as round, hollow rectangular or lip seals, and the lip type adapts to the closing lid for greater reliability. Where a shoot may face rain and brief immersion, the case should be rated IP67, meaning it is fully dust-tight and can be briefly immersed at a set depth without taking on water.
How well sealing works depends not only on the gasket but on whether latch compression is even. One over-tight latch warps the case and opens a local gap that breaks the overall seal, whereas several symmetrical latches spread the force around the lid. Routine care should clean the gasket and latch gaps so sand cannot settle and dent them into leaks, and should check for hardening or cracking after long service; the procedure is described in What to Do When a Protective-Case Gasket Ages. Teams working on beaches, in deserts or at construction sites can add a felt dust barrier and desiccant inside: the felt catches sand entering as the lid opens, and the desiccant keeps humidity low, suppressing mold and corrosion at the source. A rating is only a design target; day-to-day maintenance is what delivers the protection.
Latches, Hinges and Load-Bearing Configuration
A photography equipment case often absorbs stacking pressure and impact in transit, so its latch has to stop theft and also keep the lid fastened under load. The usual types are draw latches, butterfly catches, push latches and recessed combination locks. Draw latches are simple and stable under load, which suits heavier or larger lens cases; butterfly catches open and shut quickly for frequent field access; combination locks add a theft-resistance layer for unattended transfers. Selection should weigh material and corrosion resistance, favoring stainless steel or corrosion-treated hardware that will not rust shut in humid conditions; more points are covered in Case Latch: Pressure and Theft Resistance Hardware for Protective Cases and protective-case latch selection: matching types to compression needs.
Hinges and lid supports are just as important. A photography case gets opened often, so a weak hinge loosens and drifts out of alignment over time and then fails to compress the gasket. A metal-pin hinge with a travel stop keeps the opening angle under control and prevents self-weight rebound. Kits with many accessories benefit from an internal cable pouch and tool slot that keep attachments from scattering and striking lenses in transit. For theft deterrence, a steel cable seal and a numbered seal make any unauthorized opening visible during transfer. Latches and hinges remain auxiliary protection; the real safety of imaging gear still rests on disciplined procedures and continuous supervision, with the container serving only as the last physical barrier against risk.
Transport, Stacking and Whole-Case Securing
Vehicle fleets, warehouses and hangars are short on space, so photography equipment cases are often stacked several layers high, which demands dependable stacking capability. Case Stacking Corner: Load-Bearing and Alignment Hardware for Stacked Cases lets upper and lower cases line up precisely and channels the upper weight into ribs and corner posts rather than thin walls, so the static load is spread; the structural reasoning is set out in How Do Protective Cases Achieve Stable Stacking? Stacking Ribs, Locator Bosses, and Interlocking Principles. The achievable stack height depends on one case's rated stacking load, its footprint and the strength of the base layer, and the convention is heavier cases at the bottom, lighter on top and matching sizes grouped, with a flat board bridging dissimilar sizes and never past the manufacturer's limit.
Securing loads in transit also demands discipline. A wheeled model is fine for towing on flat ground, but on steps, gravel and sand it should be carried by its handle. Handles belong on both sides of the center of gravity so a one-sided load cannot twist the case. For a whole column in transit, straps and anti-slip mats should hold it so it cannot slide forward in a sudden stop. Stacking handles only static bearing; the bumps of the road still have to be soaked up by the liner, and the two cannot substitute for each other. Where a shoot fixes a single case inside an off-road vehicle, a helicopter or a small boat, use the molded strap holes or tie-down points so it cannot slide, and mark the exterior with this-way-up so gear is not kept inverted for long stretches.
Temperature and Humidity Management
Even when sealing is good, the inside of a photography equipment case can still draw condensation when day-night temperature swings or high humidity occur. Internal lens mold is the most typical chronic damage to imaging gear: once it takes hold in the enclosed space between the elements and the barrel it keeps attacking the coating and spreads outward. Humidity management aims to keep relative humidity within a safe band. For that reason cases usually include desiccant, humidity indicator cards or active dehumidification modules. Silica gel is cheap and can be dried and reused, which makes it an entry-level option, and color-changing silica gives a visual cue on moisture uptake. For long storage or transport across climate zones, an electronic humidity readout plus a semiconductor dehumidifier suppresses mold at the source.
Desiccant use calls for the right quantity at the right moment. The amount should fit the case volume and the storage duration: too little and dehumidification is incomplete, too much and it may release moisture back in extreme cold. After gear is taken out, reseal promptly so outside moisture cannot flood in. If the gear is brought from a cold place straight into a warm, humid one, let it temper inside the closed case before opening, so its temperature approaches ambient and the risk of condensation falls. After shooting in rain or mist, wipe off the surface water film and let the gear reach room temperature before stowing, so bulk water does not enter the sealed space. Treating temperature and humidity as variables you can control is the economical route to longer lens life and less mold repair.
Labeling, Inventory and Gear Traceability
When a photography team runs several cases at once, labeling and traceability turn into the crux of management efficiency. The outside of the lid should carry gear category, serial number, assigned unit, and this-way-up and fragile marks so that handling and dispatch read at a glance. Inside should sit a gear list, a lens cross-reference and stowage numbers so every lens and accessory has a defined place. Valuable gear heading for repair can carry a maintenance-status label that prompts a check before and after use. Modern management can also adopt QR codes or RFID tags to support scan-based counting and full lifecycle traceability, which moves stock-taking away from human memory and toward data comparison.
Traceability proves its worth especially in imaging work. A single shoot frequently mixes several lenses and bodies, and without numbering and records it is hard to judge whether an imaging fault started with the gear or arose during storage and transport. A file for the case and its key gear—logging issue and return times, the unit assigned, and maintenance and replacement history—helps fault review pinpoint the stage fast. Label stock should be weather-resistant too, and critical warnings are best laser-etched or carried on metal nameplates so sun, rain and sea immersion cannot make them peel and blur. Still, labeling and traceability have to serve compliance work, and cross-border movement must obey local rules and export-control obligations and be assessed by the user separately.
Molding Process and Custom Tooling
How a photography equipment case is molded bears directly on its strength, sealing and consistency. Engineering-plastic shells are mostly made by injection molding or blow molding. Injection molding suits intricate, high-precision cases, so ribs, latch seats and seal grooves are produced in one cycle with uniform walls and dependable dimensions. For bulky hollow cases, blow molding offers sound unity and impact strength, though finer detail suffers. Metal shells are generally produced by stamping, bending and welding, then given a surface treatment for corrosion resistance. Before custom tooling, settle the parting line, draft angle, shrinkage and gate location, and confirm dimensions and assembly through trial molding so mass production does not yield uneven lid gaps or misaligned latches.
Custom work generally proceeds in two phases: shell tooling, then liner processing. During the shell phase, the outer form, wall thickness, ribs and latch seats are laid out from the gear's 3D model. In the liner stage, zoned foam is CNC carved or thermoformed from body and lens contours and the accessory list. Before tooling, confirm foam density, color and flame class, and design support zones at lens mounts, monitor screens and connectors. Tooling costs more at the outset, but it secures the best positioning and damping and cuts long-term breakage costs. For small batches with frequent gear updates, a standard shell plus a custom liner delivers near-custom protection at lower cost. For one lens family, a common liner with replaceable cavity blocks lets several focal lengths share one structure, cutting tooling cost while simplifying inventory.
Certification, Acceptance and Export Compliance
A photography equipment case is only a packaging container, yet its reliability is normally judged against general protective-case standards. Typical benchmarks are IP ratings and MIL-STD-810H environmental test methods, together with the domestic industry and military specifications that cover drop, vibration, rain, dust, salt fog and low pressure, following the verification approach discussed in Equipment Cases: General Instrument & Gear Transport Protection. When it arrives, a short check is worthwhile: look for cracks or distortion, feel that the latches move freely, see that the gasket is intact and seated, confirm the cavities match the gear, and gauge lid-gap evenness both empty and loaded.
A procurement spec ought to cover shell material and wall thickness, liner density and material, latch type, sealing rating, stacking load, temperature range, certification basis and the liner zoning drawing, and it should place the acceptance checklist and critical-batch sampling requirement in the contract so that quality rulings have a basis. For high-value lenses and cinema bodies, a first-article vibration-table and free-drop check is recommended before use. Finally, a clear note: this article discusses only the structural, material and performance aspects of the photography equipment case as a packaging container and does not address the optical parameters or electronic principles of the protected items. Any cross-border movement or export of the related equipment is governed by local law and by export-control rules and must be judged by the user independently; nothing here amounts to a compliance finding.
On-Site Retrieval Efficiency and Workflow
Photography is a fast-paced activity, so a case design must serve on-site retrieval efficiency. A common practice is to place the frequently used body and main lens in the top layer nearest the operator when the lid opens, with rarely used spare lenses and accessories below. Put batteries and memory cards in the lid mesh pocket so swapping power or cards does not require moving the main load. For shoots on a moving platform, the case should hold a stable support when open and can serve as a temporary lens-change bench, reducing the contamination risk of setting a lens directly on sand or grass. Sensible layering shortens setup time and lowers the chance of collision on site.
Workflow discipline also shows in the handover stage. Counting and cleaning after a mission should be as strict as at departure: blow off sand with an air blower, wipe the water film, let the gear reach room temperature, then return it to its fixed cavity and replace the desiccant. For teams on long assignments, a short wrap-up checklist taped inside the lid lets every member follow the same standard. The case structure can only lower risk; disciplined procedures, dust-free work habits and full-time supervision remain the root of photography gear safety. The design goal of the container is to make the correct action natural and the wrong one awkward, so every mission ends with the gear intact.
FAQ
Q: What is the essential difference between a photography equipment case and an ordinary camera bag? A: The essential difference lies in rigid protection and damping capability. An ordinary camera bag mainly solves carrying and separation, and its soft material absorbs some friction, but it cannot give enough rigid restraint and shock isolation against drops, squeezing and long vibration. A photography equipment case uses a hard shell to resist squeezing and stacking loads, a molded liner to fix bodies and lenses one-to-one, and a multi-layer foam and damping structure to absorb impact energy layer by layer. It also imposes stricter requirements on dust sealing, moisture control, latch load-bearing and stacking, and it resists rain, sand and condensation from temperature swings. A camera bag suits short trips, light loads and fast access, while a case suits high-value gear in transport, long storage and harsh conditions. The two are not mutually exclusive, and in practice a case is often used for transport and storage while a backpack is used for field movement. Many crews therefore buy both and treat the case as the fixed base and the pack as the working extension.
Q: Why does a photography equipment case emphasize dust protection so much, and how is it achieved? A: Because sand damage to imaging gear is often irreversible. Fine sand entering a zoom ring, a focus ring or the mount gap causes abrasive wear that degrades the feel of operation, and sand entering the sensor chamber can be spread onto the sensor surface by shutter action and scratch the coating, while dust on cooling vents and electrical contacts causes poor contact. Dust protection works through sealing, compression and cleaning together. For sealing, choose a case with a continuous seal groove and a quality lip gasket rated IP67 for full dust tightness. For compression, place latches symmetrically so the lid load is even and no local gap opens. For cleaning, blow sand off the gear and case after every shift, especially the seal groove, so grains cannot lodge there and form leak-inducing dents. On beaches and in deserts, add a felt dust barrier inside to trap particles entering at the moment of opening. Replacing that felt pad on a schedule keeps its capture capacity from silently fading.
Q: How should the liner be zoned for safe and convenient use? A: Zoning should balance safety and efficiency, following the principles of body centered, lenses adjacent, accessories layered and fragile items centered. The body takes the largest cavity at the center so the center of gravity stays central for two-handed carrying. Lenses are arranged by mount and focal length, each in its own numbered, keyed cavity. Batteries, memory cards and filters are layered by size so small parts are not lost while searching. Tripod plates, gimbals and cables go into corners or the lid mesh pocket. For long barrel lenses, use a half-round groove plus strap double constraint to limit vertical bounce and axial slide. For flat small parts such as lens caps and filters, provide independent shallow pockets or a clear compartment box. Cutouts should leave a slight compression allowance so the gear is firmly held without deformation, making open, lens change and stow all natural. A photograph of the correctly packed case taped inside the lid removes guesswork for any replacement crew.
Q: Should the liner use EVA or cross-linked polyethylene? A: The right choice follows the gear form factor and the working environment. EVA balances hardness and toughness and molds easily, so it suits hard inserts shaped to bodies and lenses that give even circumferential support while resisting cracking when cold. Cross-linked polyethylene, with its high closed-cell ratio, near-zero water absorption and strong rebound, fits damp, dusty or splash-prone work and creeps very little under sustained load. When a monitor screen or lens barrel is delicate and needs a soft wrap, a layer of soft polyurethane can be laid at the contact surface. In practice EVA often does the main supporting while cross-linked polyethylene forms the environmental barrier, and the pairing works best. The decision should also weigh gear weight, transport duration, and ambient temperature and humidity, and foam density must not be too low, or sustained vibration may creep the foam and let the lens shift. Measuring compression set on a small sample is the safe way to confirm, and recording the tested grade on the liner edge makes later replacement straightforward.
Q: Must a photography equipment case be fully waterproof? A: Not every task calls for total waterproofing, yet dust protection and moisture control are always required. If a shoot involves rain, mist, the seaside, a vessel or a water platform, choose a case with a quality gasket rated IP67 or better and inspect the gasket on a schedule. If the gear mostly moves between a city and a studio, dust and splash protection is often enough, and chasing deep immersion just adds cost and weight. Whatever the rating, the inside should work with desiccant or a dehumidifier, because even without water entering, condensation from day-night temperature swings can grow mold inside a lens, and mold is hard to remove once it appears. The point is to fix the rating from the mission checklist and fold maintenance into the routine: wipe off the water film after wet work, let the gear reach room temperature before stowing, and swap the desiccant on time. A humidity card that can be read through the lid tells a handler how the interior is doing without opening up.
Q: How should case labeling and gear traceability be designed? A: The best labeling rule is to reveal the essentials outside and archive the full list inside. The lid exterior carries gear category, serial number, assigned unit, and this-way-up and fragile marks so handling and dispatch are clear. Inside sits a gear list, a lens cross-reference and stowage numbers so every lens and accessory has a fixed place. Valuable gear sent for repair can carry a maintenance-status label that prompts a check before and after use. Modern practice can also apply QR codes or RFID tags for scan-based counts and full lifecycle tracking. Outer labels must endure the weather, and critical warnings should be laser-engraved or set on metal plates so sun, rain and sea water cannot peel or fade them. A file logging issue and return times, assigned units and maintenance history lets an imaging anomaly be traced quickly and sharply improves counting efficiency. Backing the file up digitally means a lost label never erases the gear's service history.
Q: Can photography equipment cases be stacked, and how high is appropriate? A: Stacking is acceptable when stacking corners are fitted and the rated load is not exceeded. The corners align upper and lower cases exactly and carry the upper weight through ribs and corner posts instead of thin walls, so the static load is spread. The achievable stack height depends on one case's rated stacking load, its footprint and the strength of the base layer, and the convention is heavier cases at the bottom, lighter on top and matching sizes grouped, with a flat board bridging dissimilar sizes. Stacking handles only static bearing; road bumps still have to be absorbed by the liner, and the two cannot substitute for each other. Vehicles should strap and anti-slip the whole column so a sudden stop cannot slide it forward, and a single case fixed in an off-road vehicle, a helicopter or a boat can use the molded strap holes. Never go past the manufacturer's stacking limit, and turn the stacks over now and then to inspect the base units for creep. Putting the approved stack height on the outside lets fresh handlers comply without a special briefing.
Q: What documents should a buyer request from a photography equipment case supplier? A: Three categories matter most. First, material and structure documentation, covering shell material and wall thickness, liner density and scheme, sealing structure, latch and stacking-corner setup, plus hardware corrosion treatment, so you can tell whether they suit the gear weight and working environment. Second, protection-performance test reports—IP rating, or MIL-STD-810H and equivalent industry and military results for drop, vibration, rain, dust, salt fog and low pressure—serving as objective reliability evidence. Third, details on customization and upkeep, such as whether the liner can be CNC-carved from the gear's 3D data, whether dedicated lens inserts and replaceable cavity blocks are supported, and the replacement cycle and supply channel for gaskets and foam. Once delivered, carry out a straightforward acceptance check covering cracks, distortion, seal integrity, cavity fit and lid-gap evenness, then give high-value lenses and bodies a first-article vibration and drop check before use. Before payment, checking the delivered documents against the specification item by item is the least expensive way to spot a mismatch.