

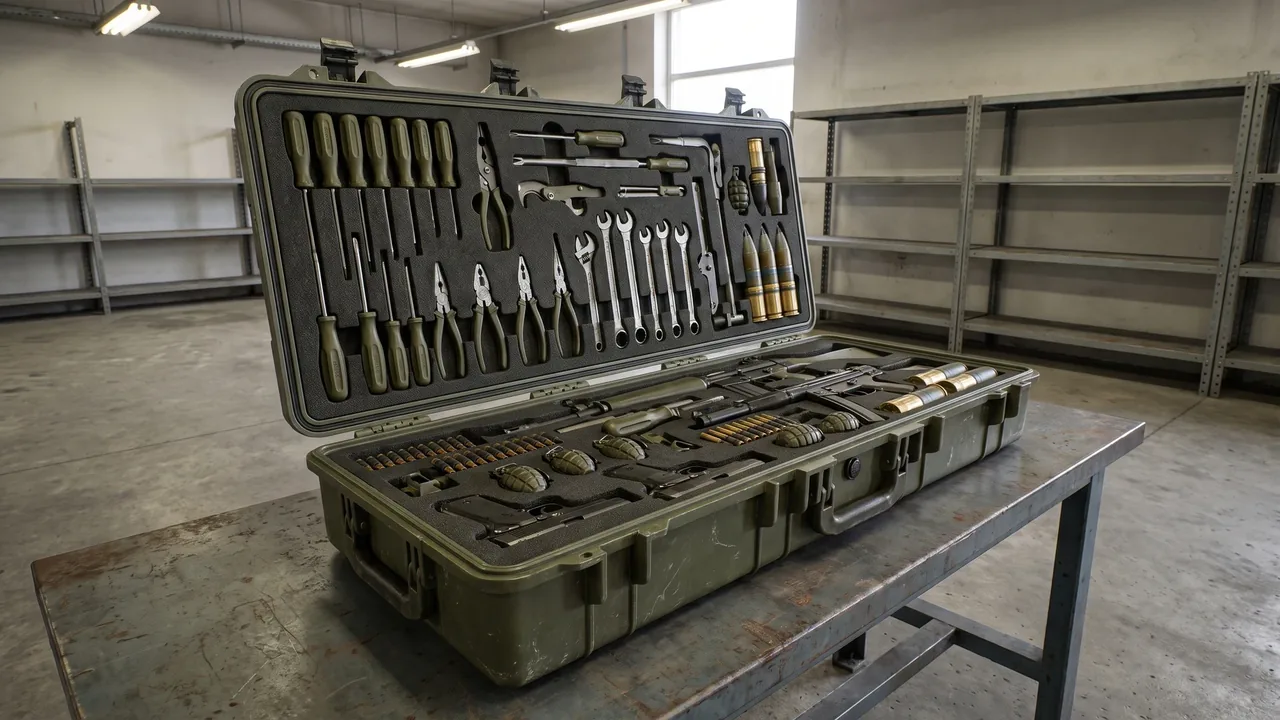
A maintenance tool box is a purpose built carry container designed for on site service work such as equipment upkeep, production line inspection, vehicle rescue, engineering emergency repair and outdoor gear maintenance. Unlike an ordinary storage box, a maintenance tool box must gather wrenches, pliers, screwdrivers, measuring instruments, electrician tools, adhesive consumables and spare parts into one organized system, while keeping every item fixed in position, easy to retrieve, free from mutual collision and never lost under bumpy transport, dusty surroundings, humid weather and frequent opening and closing. A well partitioned, structurally reliable and properly sealed maintenance tool box often determines whether a field repair can be finished efficiently, and it directly shapes the carrying burden and safety of the worker. This article explains the selection and use of maintenance tool boxes across shell materials, liner partition, tool configuration, sealing and moisture control, hardware fittings, shock isolation, stacking and maintenance management, and it cross references related topics such as hardware toolbox for home and electrician storage, how to choose the right toolbox size and what a dustproof toolbox is used for, so readers can build a complete picture of field repair carry planning.
1. Field Repair Pain Points and the Role of the Tool Box
The biggest difference between field repair and a fixed workshop station is that the work location is unstable, the environment is uncontrolled and the available time is limited. Maintenance staff may climb onto elevated platforms, crawl into equipment cavities, travel to remote base stations or rescue vehicles beside a rain soaked road, and all of these scenes place extreme demands on tool carrying. If tools are scattered in several plastic bags or open boxes, carrying becomes tiring, on site searching wastes valuable time and critical spares may be left behind, causing a second trip. Worse still, sharp tools in loose storage easily wear each other's edges, precision gauges lose accuracy under impact and powered tools create safety hazards in damp conditions.
The role of a maintenance tool box is to convert scattered tools into organized capability. Through partitioned liners it fixes every category of tool in a dedicated position, through sealing structure it blocks dust and rain, through rigid shell it resists compression and drops, and through ergonomic design it lets a single person move the whole kit with reasonable effort. For a team, a standardized maintenance tool box also enables institutionalized tool counting, handover and loss management. Similar to the equipment storage logic emphasized in equipment protective case for general instrument transport, a maintenance tool box also pursues the unity of fits inside, finds fast, carries away and protects completely, rather than pursuing capacity or appearance in isolation.
2. Shell Material and Structural Selection
Common shell materials for maintenance tool boxes include polypropylene copolymer, modified engineering plastic, aluminum magnesium alloy and stainless steel. Polypropylene boxes are light, tough and naturally rust resistant, making them the mainstream choice for most field repair scenes; modified engineering plastics perform better in impact resistance and weather ability, suiting long term outdoor use. Aluminum magnesium alloy offers higher rigidity and better heat dissipation, fitting heavier power tools and metal spares, yet it needs anodizing to slow salt spray corrosion. Stainless steel shines in chemical and marine high corrosion environments but is heavier, so it is used more at fixed points than for long distance carry.
In structural form, maintenance tool boxes divide into flip top, drawer, folding and trolley roller types. Flip top opens intuitively and uses space efficiently, suiting comprehensive repair with many tool categories; drawer types separate layers clearly, good for keeping gauges, consumables and heavy tools apart; trolley roller types greatly reduce carrying burden during long transfers. Whatever the form, shell edges should use reinforcement ribs, and corners should fit protective caps or stacking corners for protective case load and positioning to improve stacking stability. For more on shell material and molding, see protective case shell structure material and molding process. Selection should combine expected drop height, stacking layers and single person carry limit rather than compare isolated parameters.
3. Liner Partition and Tool Fixing
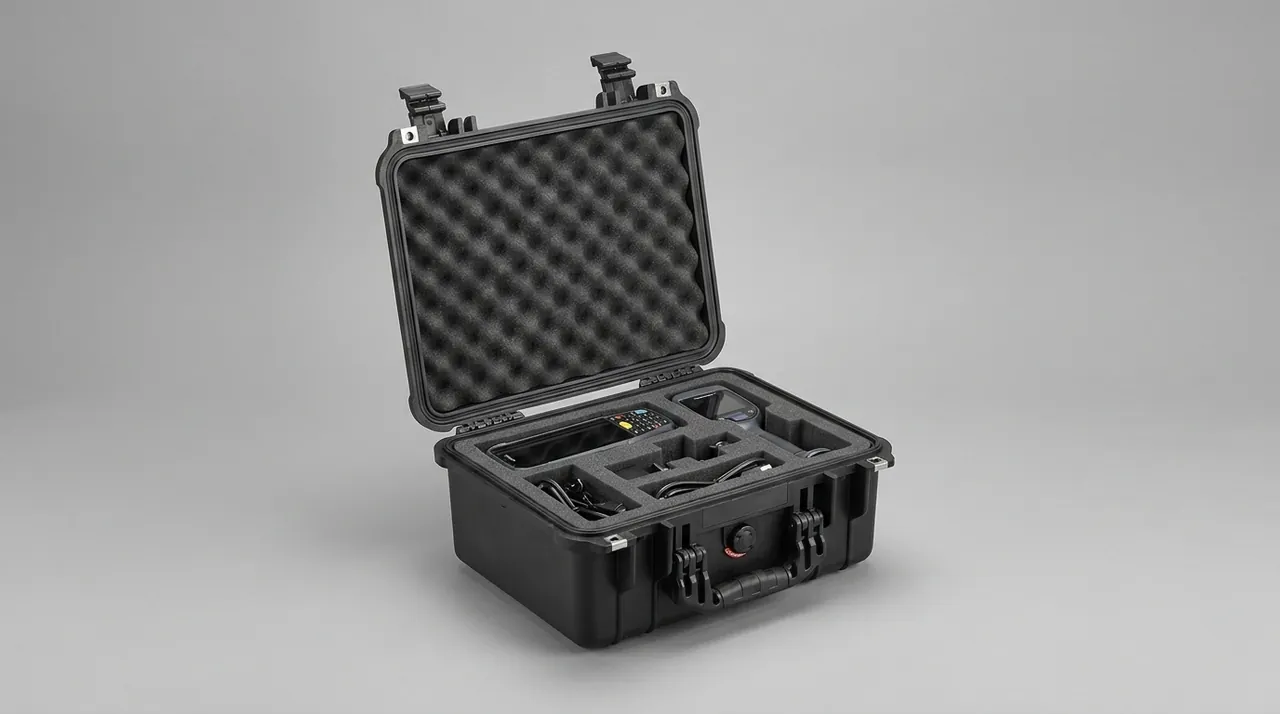
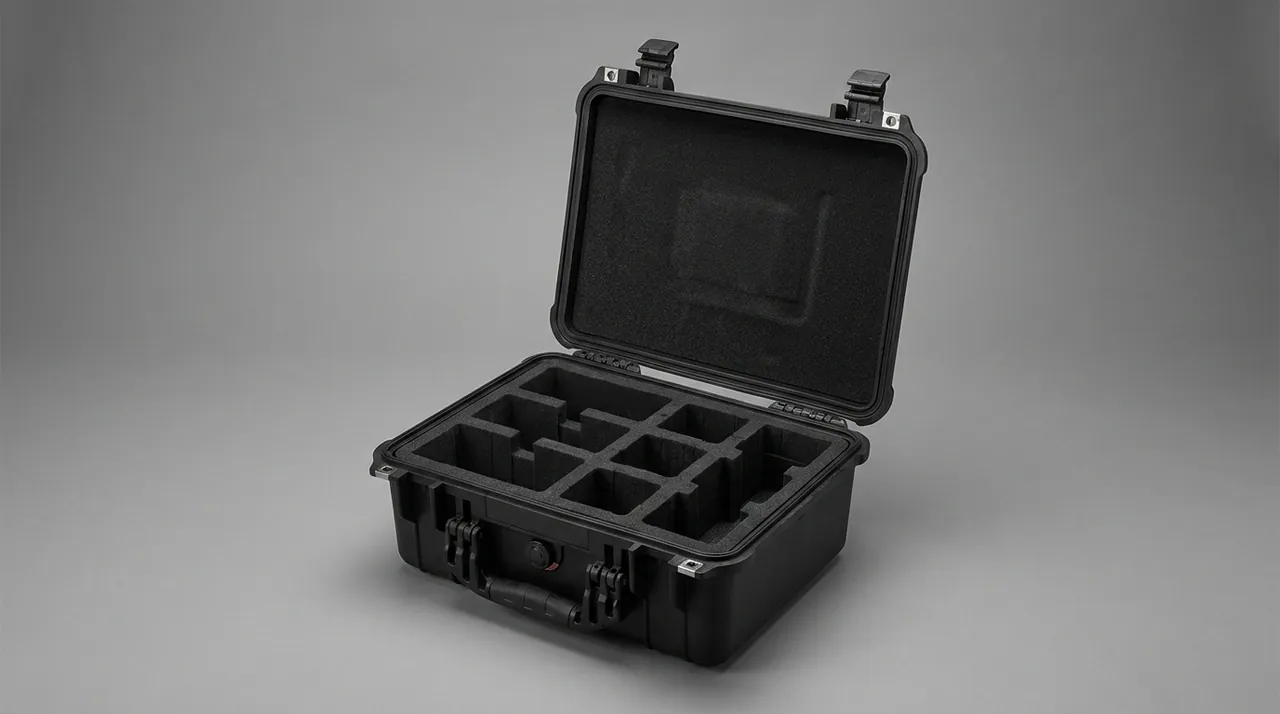
The liner is the core component that makes every tool return to its place. Common liner schemes include pre scored grid foam, CNC carved custom foam, EVA molded inserts and adjustable divider panels. Grid foam is flexible to modify and low cost, fitting teams whose tool list changes often; CNC carved foam cuts precise slots from tool outlines, offering high fit and tidy appearance for fixed configurations; EVA molded inserts are formed in one mold and give uniform peripheral support to jaws, edges and gauges. For more on foam advantages see advantages of EVA foam in tool boxes and difference between EPE and EVA foam for tool boxes.
Partition planning should follow the principle of heavy low and light high, sharp inward, frequently used outside and precision centered. Heavy sockets and power tools sit at the bottom near the handle to lower the center of gravity; scissors and utility knives should embed in independent slots with protective covers to avoid scratching; screws, washers and ties go into transparent divider boxes to prevent loss and mixing; micrometers and dial indicators belong in the central buffer layer away from direct wall impact. Consistent with the logic in protective case foam lining buffer and customization, the liner of a maintenance tool box should also achieve one slot per item, no collision on retrieval and instant check on return, turning every count into a habit.
4. Configuration Thinking for Common Repair Tools
A mature maintenance tool box should be configured modularly by job type rather than stuffing every tool in blindly. For general equipment upkeep, the base module usually includes adjustable and open end wrench sets, hex key sets, flat and Phillips screwdriver sets, needle nose and side cutting pliers, tape measure and vernier caliper, electrician tape and cable ties, flashlight and voltage tester. Expansion modules add by industry: vehicle repair needs socket sets, tire tools and tow straps; electrical repair needs multimeter, insulated gloves and wire strippers; plumbing repair needs pipe wrench, PTFE tape and sealant.
Configuration also considers tool compatibility and redundancy. Unify thread standards for the same specification fasteners to reduce wrench types; keep spare consumables such as lamps, fuses and seals in reserve; for critical equipment attach a common spare list with replacement intervals. Note that more tools are not better, because over stacking squeezes buffer space and adds weight, lowering carry efficiency. Like the checklist thinking in what to put in a car toolbox, a maintenance tool box should also apply the rule of eighty percent frequently used and twenty percent backup, so every tool has a clear purpose and fixed position.
5. Moisture Control, Dust Proofing and Sealing
Field repair often happens in humid, dusty or even rainy environments, where tools left damp will rust, gauges will lose accuracy and powered tools will create hazards, so moisture and dust control cannot be ignored. The box should fit a continuous closed seal strip at the lid mouth to block dust and splashing water; for high humidity scenes place desiccant bags inside and replace them regularly, or wrap critical tools in VCI vapor corrosion inhibiting paper. For seal strip design see seal strip for protective case sealing and aging protection.
For dust proofing, besides the seal strip, reduce opening frequency and lid opening range, avoiding long exposure in windy dusty conditions; wipe off oil and metal chips after return, especially threads and edges, to prevent long term corrosion inside. For teams working in salt spray or chemical environments, choose stainless or anti corrosion treated boxes and rinse the exterior with fresh water then dry regularly. It must be stressed that this article only covers the moisture and dust structure of the packaging container; the corrosion grade of specific tool materials and on site safety rules are evaluated separately by the using unit.
6. Hardware Fittings: Latches, Hinges and Handles
Hardware fittings are small yet directly decide the service life and opening experience of a maintenance tool box. For latches, common types are press buckles, butterfly buckles and lock core buckles; field work values one hand open, reliable close and low accidental release, so buckles with safety lock are preferred. For latch selection see hardware latch for protective case types and selection. Hinges should open smoothly and limit steadily, avoiding lid flipping under strong wind or slope; heavy boxes need thickened metal hinges with regular lubrication.
Handles and trolley bars are ergonomic keys. Handles need enough grip width and anti slip texture to avoid hand strain during long carry; roller boxes need retractable trolley bars with reinforced roots to avoid breaking under full load towing. Corner caps protect shell edges and also locate during stacking. Note that loose or rusted hardware should be tightened or replaced promptly, otherwise the box may disintegrate under drop or handling. Consistent with the emphasis in protective case fittings latches hinges and corners, the hardware of a maintenance tool box should also enter the daily check list, fixing small problems early to prevent escalation.
7. Shock Isolation and Drop Protection
During transport a maintenance tool box inevitably experiences bump, drop and stacking pressure, and the meaning of shock isolation is to absorb impact energy in foam and elastic structures rather than transfer it to precision gauges and edged tools. When evaluating buffer effect, focus on foam density grade and resilience: foam too soft may creep under continuous vibration and let tools sink losing restraint; foam too hard cannot absorb impact effectively. For fragile gauges like dial indicators and levels, keep moderate compression around them and prefer foam with high closed cell rate and low water absorption.
Drop protection relies on shell structure and corner reinforcement. Corners face the highest impact probability, so reinforcement ribs and caps are vital; for boxes needing air transport or frequent handling, fit a pressure balance valve at the lid to avoid bulging from altitude pressure difference. On acceptance, run simulated drop and vibration table tests, recording tool displacement and gauge reading changes. Note that softer is not better; choose foam density by tool weight and verify with drop and vibration tests so tools stay restrained under limits. Like the thinking in shockproof protective case for precision impact isolation, a maintenance tool box must also balance soft buffer and hard restraint.
8. Stacking Storage and Vehicle Fixing
In warehouses or tool rooms, maintenance tool boxes are often stacked to save space, which requires flat tops and reliable bottom locating. Boxes with protective caps or stacking ribs interlock when stacked, reducing slip and tipping; stacking layers should be calculated from rated load and content weight to avoid crushing the bottom box. For stacking load see stacking corners for protective case load and positioning.
Vehicle scenes emphasize fixing. Hard braking, turning and bumping turn an unfixed tool box into a moving weight that can damage equipment and endanger occupants, so a vehicle maintenance tool box should connect to the body with straps, buckles or dedicated brackets, placed low and against the seat back to lower the center of gravity. For pickups or engineering vehicles, add anti slip mats and limit baffles to stop sliding in the cargo bed. Note that vehicle interiors face high temperature sun exposure, and some plastic boxes may deform under sustained heat, so check material temperature grade and ventilation when selecting. Consistent with the layout advice in what to put in a car toolbox, fixing precedes convenience and safety exceeds efficiency.
9. Label Identification and Spare Management
When a team owns several maintenance tool boxes, clear label identification becomes important. The exterior should carry content list, responsible person, serial number and next check date; internal zones can also bear tool name and quantity labels, letting anyone confirm configuration quickly without long searching. For teams with frequent lending, build an outbound registration and return verification system to prevent loss.
Spare management balances economy and response speed. Frequently consumed items like fuses, seals, ties and lamps should stay in the box; expensive or low frequency spares can be stored at base to save field space. Every spare should be marked with specification, quantity and replacement interval, and replenished promptly after use. Consistent with the small part check logic in protective case fittings latches hinges and corners, spares in a maintenance tool box should also keep accounts matching objects and refill on shortage, so field repair is never interrupted by a tiny seal. Label material should be wear resistant and waterproof to avoid peeling under oil and wiping.
10. Repair Carry Scenes Across Industries
Maintenance tool boxes span many industries, and scene differences decide configuration focus. In factory equipment upkeep, the box stresses standardization and modularity for shift rotation; in vehicle rescue it balances vehicle fixing and quick access, with tow and tire tools outside; in power and communication emergency repair, insulated tools and testers must be partitioned and paired with moisture design; in outdoor gear care, light weight and dust proofing become primary, often with shoulder straps and rollers.
Even within one industry, city and field configurations differ. Field base station repair faces long transfer and unsheltered environment, needing stronger sealing and isolation; city building repair values elevator and narrow space flexibility, so the box should be more compact. Like the scene adaptation logic in what a dustproof toolbox is used for, a maintenance tool box should also configure by scene and choose by industry, instead of forcing one universal box onto every task. Note that for live or high risk work, the insulation grade of tools and personnel qualification are evaluated separately by the using unit; this article does not cover specific work procedures.
11. Selection Parameters and Size Planning
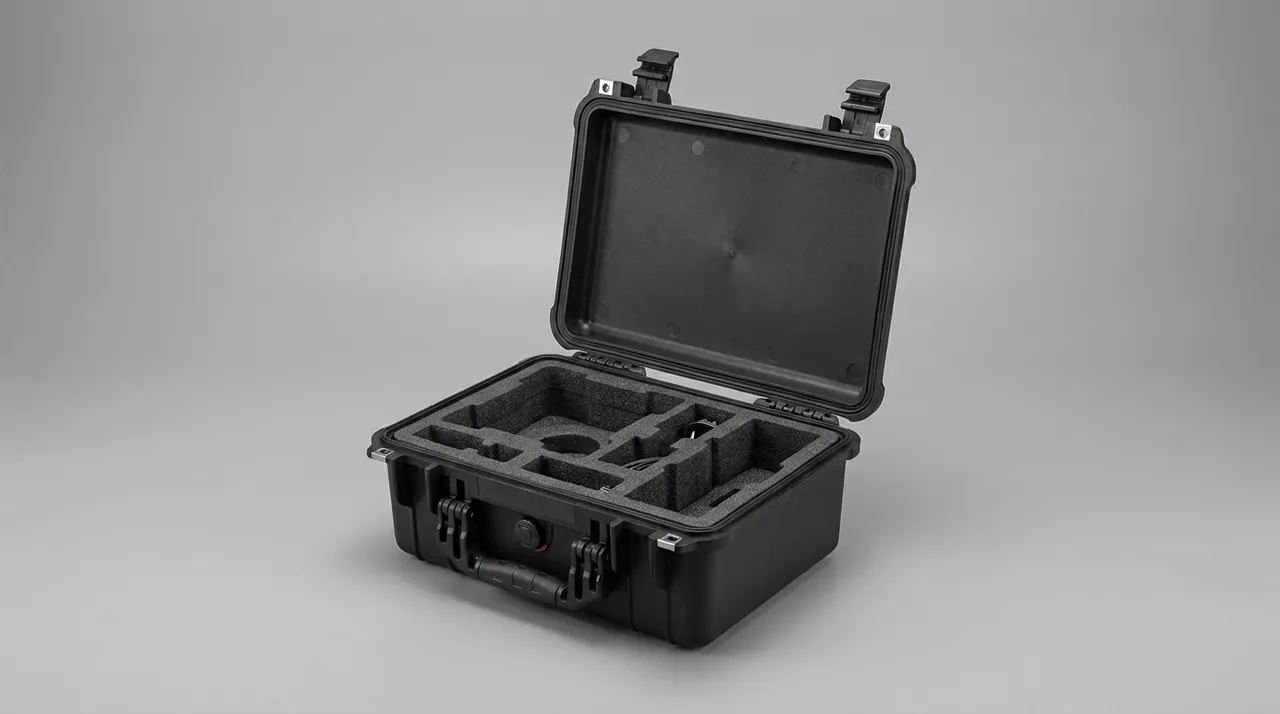
When buying a maintenance tool box, break needs into quantifiable parameters: content volume and weight, expected carry distance, temperature humidity and dust grade, stacking and vehicle mode, opening frequency. First estimate total volume from the tool list, then reserve twenty to thirty percent buffer and expansion space to avoid failing to close when full. Size planning also considers single person carry limit, because an overweight box lowers efficiency no matter how good the structure. For capacity methods see how to calculate toolbox capacity reasonably.
Material and protection grade must match environment. Dusty humid environments prefer boxes with seal strips and weather resistant shells; corrosive environments choose stainless or anti corrosion alloy; frequent air transport chooses light high strength material. Try latches, hinges and handles to confirm comfort, avoiding awkward field operation. Consistent with the comparison in aluminum versus stainless steel toolbox durability, selection is not about chasing high spec but serving real scenes, spending on the edge and using at the key point.
12. Daily Maintenance and Life Extension
The maintenance of the maintenance tool box itself is often ignored by users yet directly relates to its life and reliability. After each return, wipe oil and dust from the shell, check whether the seal strip is cracked, the buckle loose or the hinge noisy, and fix issues early. Foam liners soaked with oil or crushed out of shape should be replaced promptly, otherwise they lose restraint. Desiccant bags should be replaced by cycle, especially more often in plum rain and humid seasons.
For long storage, place the box in a cool dry place away from direct sun and heavy top load; aluminum and stainless boxes can receive periodic anti corrosion care, while plastic boxes must stay away from heat to avoid deformation. It must be stressed that this article only covers the maintenance method of the packaging container; specific tool calibration, edge sharpening and electrical safety inspection are arranged separately by the using unit. Consistent with the view in seal strip for protective case sealing and aging protection that strip aging is preventable, most failures of a maintenance tool box stem from ignoring small parts, and regular checks significantly extend the service cycle.
13. Common Misunderstandings and Compliance Notes
Common misunderstandings in using maintenance tool boxes include blindly enlarging the box for capacity so it cannot be carried by one person; replacing a professional tool box with an ordinary storage box and sacrificing sealing and buffer; skipping liner partition so tools collide; and ignoring labels and counts until tools are lost. These seem convenient but ultimately cost more on site. The correct approach treats the tool box as a system rather than a container, forming a closed loop from selection, configuration, identification to maintenance.
On compliance, this article only covers the structure, material and protection ability of the packaging container, and does not involve any specific tool use method, work qualification or on site safety rule. For export or cross border transfer, local regulations, transport control and industry access are evaluated separately by the using unit, and the packaging supplier does not provide compliance conclusions. Consistent with the boundary statement in equipment protective case for general instrument transport, the positioning of a maintenance tool box is always to bring tools to the site safely and orderly, while how to complete the job with those tools belongs to the technical and safety management of the using unit. Viewing the ability boundary of the container rationally leads to steady decisions in selection and procurement.
A practical way to institutionalize this view is to fold the tool box into the unit's equipment ledger and inspection routine. Each box should carry a fixed location, a contents list and a responsible person, so that missing or worn items are spotted before a task rather than on site. When several teams share a workshop, standardizing on one or two modular box sizes pays off quickly, because liners, labels and spare hardware can be swapped between them, and a single damaged case no longer blocks a whole work order. Teams that treat the tool box as consumable furniture usually pay twice, once to replace lost tools and again to absorb the delay, while teams that treat it as maintainable equipment recover the cost within a few cycles. Reasonable planning therefore links selection, configuration and upkeep into one loop rather than three separate chores.
Frequently Asked Questions
Q: Should a maintenance tool box be aluminum or plastic?
A: Choosing aluminum or plastic for a maintenance tool box depends on the load, corrosion and portability needs of the environment. Aluminum magnesium alloy boxes offer higher rigidity and better heat dissipation, fitting heavier power tools and metal spares, and they look more durable, but they are heavier, cost more, and still need anodizing in salt spray. Polypropylene or modified engineering plastic boxes are light, tough and naturally rust resistant, making them the mainstream for most field repair, especially for teams needing long distance carry or single person handling. If the work involves chemical or marine high corrosion environments, stainless steel boxes are safer but weight must be weighed carefully. In practice, treat the sum of content weight plus box weight against the single person carry limit as a hard indicator, then combine drop height, stacking layers and budget to decide, rather than comparing material names in isolation. Most teams use plastic boxes as the daily mainstay with metal boxes added only for heavy or corrosive scenes.
Q: What essential tools should go in a field repair box?
A: Essential tools for field repair should be configured as a base module plus industry expansion, avoiding both missing key items and over stacking. The base module usually includes adjustable and open end wrench sets, hex key sets, flat and Phillips screwdriver sets, needle nose and side cutting pliers, tape measure and vernier caliper, electrician tape and cable ties, flashlight and voltage tester, covering most fastening, disassembly and simple measurement tasks. Vehicle repair adds socket sets, tire tools and tow straps; electrical repair needs multimeter, insulated gloves and wire strippers; plumbing repair needs pipe wrench, PTFE tape and sealant. Keep reserves of consumables like lamps, fuses and seals, and attach a common spare list with replacement intervals. Note that more tools are not better, because over stacking squeezes buffer space and adds weight, lowering carry efficiency, so apply the rule of eighty percent frequently used and twenty percent backup, letting every tool have a clear purpose and fixed position within the partitioned liner.
Q: How should the liner foam of a maintenance tool box be selected?
A: Selecting liner foam for a maintenance tool box centers on balancing fit, buffer and durability. Common materials include cross linked polyethylene foam, polyurethane foam and EVA foam, differing in resilience, density and compression strength. Cross linked polyethylene has high closed cell rate and low water absorption, suiting humid environments; polyurethane is soft and good for wrapping delicate gauges; EVA balances hardness and toughness and is often used in molded inserts. Structurally, grid foam is flexible and low cost for changing tool lists; CNC carved foam cuts precise slots from outlines with high fit and tidy look; EVA molded inserts formed in one mold give uniform peripheral support to jaws, edges and gauges. Whatever the choice, keep moderate compression around tools after embedding so they are fixed without plastic deformation from interference fit. When foam is soaked with oil or crushed out of shape, replace it promptly to restore restraint ability and protect edged tools from mutual damage during transport.
Q: How can a maintenance tool box achieve effective moisture and dust control?
A: Effective moisture and dust control for a maintenance tool box relies on three coordinated aspects: sealing structure, drying means and daily habits. The box should fit a continuous closed seal strip at the lid mouth to block dust and splashing water; for high humidity scenes place desiccant bags inside and replace them regularly, or wrap critical tools in VCI vapor corrosion inhibiting paper to slow metal rust. For dust proofing, besides the strip, reduce opening frequency and lid range, avoid long exposure in windy dusty conditions, and wipe off oil and metal chips after return, especially on threads and edges. For salt spray or chemical work, choose stainless or anti corrosion treated boxes and rinse the exterior with fresh water then dry regularly. It must be stressed that this article only covers the moisture and dust structure of the packaging container; the corrosion grade of specific tool materials and on site safety rules are evaluated separately by the using unit, and the container itself cannot replace the protection of the tools or the operation discipline of personnel.
Q: How should a vehicle maintenance tool box be fixed safely?
A: The safety core of a vehicle maintenance tool box is the word fixing, preventing it from becoming a moving weight during hard braking, turning and bumping. Inside the vehicle luggage area or cargo bed, use straps, buckles or dedicated brackets to connect the box reliably to the body, and place it low and against the seat back to lower the center of gravity. Pickups or engineering vehicles can add anti slip mats and limit baffles to stop sliding in the bed; for boxes fetched frequently, keep common tools outside and heavy tools at the bottom to reduce imbalance when opening. Note that vehicle interiors face high temperature sun exposure, and some plastic boxes may deform under sustained heat, so check material temperature grade and ventilation when selecting. Consistent with vehicle layout advice, fixing precedes convenience and safety exceeds efficiency; any unfixed heavy tool box should not travel long distance by vehicle, which is the basic bottom line of field repair carry planning and protects both equipment and occupants.
Q: How should the size of a maintenance tool box be planned?
A: Planning the size of a maintenance tool box should first estimate total volume from the tool list, then reserve twenty to thirty percent buffer and expansion space to avoid failing to close when full or squeezing the liner. Size must also link to the single person carry limit, because an overweight box lowers efficiency no matter how good the structure, so treat the sum of content weight plus box weight as a hard constraint to reverse derive the size upper limit. In shape, a flat low center box helps vehicle use and stacking, while an overly tall box easily becomes unstable on bumps. For different scenes, city building repair should be more compact to enter elevators and narrow spaces, while field transfer can enlarge capacity within controllable weight. For more on capacity methods see related toolbox capacity planning topics. The essence of a reasonable size is that tools fit, a person carries, and the vehicle rests steady, rather than simply pursuing maximum volume.
Q: How should a hardware toolbox and a power tool box be paired?
A: Pairing a hardware toolbox with a power tool box essentially manages manual basics and power expansion in layers, avoiding mutual interference while connecting seamlessly on site. Manual hardware tools such as wrenches, pliers and screwdrivers should sit in the partitioned liner of the main box, achieving one slot per item and no collision on retrieval; power tools such as drills and angle grinders with batteries and chargers are better placed in a separate box or bag with dividers, preventing heavy powered equipment from crushing delicate manual tools. The two can be carried together on a task and fetched by process order on site: use power tools for rough work first, then manual tools for fine adjustment and fastening. Note that the power tool box must consider battery transport safety and ventilation, avoiding mixing with flammable consumables; the manual box should focus more on rust prevention and edge protection. Reasonable pairing makes the team field rhythm smoother and reduces tool loss and damage probability significantly during daily operations.
Q: What quality and certification should a maintenance tool box pay attention to?
A: The quality and certification of a maintenance tool box should be viewed from three levels: material, structure and third party standards, without being bound by a single label. At material level check shell wall thickness, reinforcement rib distribution and hardware material; at structure level check seal strip continuity, buckle lock reliability and corner reinforcement. For third party standards, the protective case industry often references IP rating for dust and water proofing, and vibration and drop testing thinking similar to MIL-STD-810H for environmental adaptability, while some industries also care about flame retardancy or specific environmental directives. It must be clear that this article only covers the structure, material and protection ability of the packaging container, and does not involve any specific tool use method, work qualification or on site safety rule. For export or cross border transfer, local regulations, transport control and industry access are evaluated separately by the using unit, and the packaging supplier does not provide compliance conclusions. Viewing certification rationally as a selection reference rather than the only basis leads to steady procurement decisions.